My 3 Monsters: May 2010

Recent Posts

5.27.2010

Voila!

I know I said I'd wait until after camp to do the chair, but it was just sitting there taunting me.  I couldn't resist the challenge.  Also, the fabric I wanted was on sale for $3.50 a yard.  I decided to go with the black and white checks.  I just had to go with my gut on this one.  My initial vision for this was black and white.  Maybe if I was doing a slipcover I would have gone ahead with the t-shirt idea, but I wanted to make sure I would LOVE this chair forever.  And I do.  I Lu-uh-uh-uh-uh-uh-ve it!  It really ties the room together.  If you look closely you can tell that it's my first attempt at reupholstery -- little puckers in places that a professional would never leave -- but I am pretty proud of myself.  (If I do say so myself.)  It's maybe my favorite thing that I own right now. 

Pretty amazing, huh?  The kids call it the throne.  I like to sit across the room and look at it, but it has become Dylan's favorite TV-watching chair.  No, it doesn't even face the TV.  He likes to lay across it with his legs propped up on the wing and that squishy t-shirt pillow under his head.  Kids . . .


Visit thecsiproject.com

5.26.2010

Girl's Camp in Two Days!!!

This about the time I usually officially enter panic mode as I try to wrap up all the loose ends for camp this year.  Welcome to my inner monologue:

I need to dig out the red Christmas lights and refill the staple gun.  Make sure to pack the little treasures I've prepared for my girls and write my devotional.  Must find:  a hammer, a camp stove, a frying pan.  Burn a CD of the song we got a late start on learning.  Where are the rope, the bug spray, the extension cords?  The camp chair, the polka dot bucket, the sunscreen?  Do I have enough snacks?  Too many snacks?  The right snacks?  Will all my girls remember to pack a lunch on Friday?  A dress for church Sunday?  Should I bring extras of both?  Deliver: the t-shirts, the pillow cases, the pajama pants.  For the love of Pete, there are no clean clothes.  What?!  The children still want dinner and affection and to be tucked into bed?   Brent's birthday is Monday.  Crap!  Bake him a cake. Fill up the fridge for the boys, the cooler with ice for us girls, and my veins with all the caffeine I can from now until then.  Make Sis a lunch for Friday.  And see that she has a dress.  Is she nervous?  Excited?  Does she want me to hang around or give her some space?  Try to be fun, but not embarrassing.  Get extra ponytail holders for the thousand french braids that will be done on seven lovely little heads.  I only get one shower in 5 days.  When should I take it?  Could I sneak in a second?  Would anyone notice? Is that fair to the girls?  Do I really care?   

Over and over and over again.  But here I sit blogging, surprisingly calm about the whole affair.   This is not me first rodeo, folks.  Everything comes together in the end.  Sis and I are almost off on our fun adventure together.  I spent the early afternoon yesterday painting this "mural" to hang outside our cabin, in lieu of wrapping the whole cabin in red butcher paper.  (That idea was pure insanity and I'm ashamed that none of you told me as much when I first mentioned it.)  Anyhoo, the mural:
It's quick and dirty.  Not one for the portfolio.  Whatever.  It's painted on a bed sheet and will be thrown away after camp.  We also have lightening bolts and comic book sound effect bubbles (Whoosh!  and POW! and the like) to dangle from the rafters.  The rafters that will be lit by the lovely red lights if I can find them in the garage.  Yay.  I'm starting to get excited!

5.25.2010

Dedicated

Sunday we had the unique opportunity of attending the dedication of the Gila Valley Arizona temple as a family.  Granted we weren't in the actual temple, just a stake center viewing the broadcast, but it was a wonderful feeling to be sitting there as a family.  Me and my husband, married for time and all eternity, with our three beautiful children.  It was excruciatingly long for them -- we showed up 30 minutes early for the hour and a half session with no books or coloring pages in tow -- but they were reverent.  The whole time.  Sure, Dylan folded his clean white handkerchief into an airplane a time or two and Sis dozed off in the corner somewhere in the middle.  It was to be expected.  The whole time I just kept looking around me at these four people who I love so powerfully, and feeling like I was getting a glimpse into our future.  A future when we will all sit in the temple together.  A future where I will rejoice and beam with pride at the result of all these years of hard labor.  We have good kids, but they are growing up in a difficult world.  I hope they, like me, caught a glimpse Sunday of what the temple can mean in their lives.  That they will always look to the temple and to Christ to find their way.  That, just as the temple was dedicated, they will dedicate their lives to loving and serving Him who gave us all.  Because their father and I are dedicated to helping them get there so we can enjoy those temple blessings.  As an eternal family.

Bedroom Made Over Using Only Paint

You may recall my flooring drama of a month ago . . . a puppy with no sense of propriety (and the carpet to prove it), a mom (namely, me) desperate for change, a dad (the hubs) out of work and desperate to stay busy, and a budget that was almost non-existent.  How do you solve all these problems in one fell swoop?  Rip up the carpet (to keep dad busy) and paint the plywood floor underneath with the paint left over from our bedroom re-do a few weeks previous ($0 budget!!)  While we were at it, I decided to hand-paint a vintage-looking industrial type logo on the floor, just to add a little interest.  My vision was for it to look like it had been there forever so I placed it a little off-kilter and running off into the closet.  After painting it on the floor I went back and dry-brushed the gray paint over it again to make it look worn and faded.
We learned a few things along the way with this project that would be helpful if you want to try this at home.   First, sanding is optional. We wanted a more rustic look so we opted not to sand.  If your room is more refined, you may want to.  Also, if refined is the look you're going for, you probably want to fill all the nail holes with wood filler before sanding.  Up to you.  We went in with a scraper and removed all the bits of  glue and loose splinters of wood and hammered in all the nails really well, but left it all showing.  This would also be the time to screw down any loose, squeaky spots.  Just drive a screw right down into the floor joist below.  Second, PRIME, PRIME, PRIME!!!!  With a primer like Kilz that says specifically that it seals in stains.  This will keep them from bleeding through your paint.  It also seals the plywood so you use less paint.  Third, Polyurethane over the top.  Two or three coats.  We used the satin finish so it wouldn't look too glossy.

While we had the paint out we also painted the walls the same cement-gray color with crisp white baseboards.  I think it goes perfectly with the faux brick wall that I painted in there a while back.   What do you think?
And, in keeping with the industrial theme, we updated the ugly faux-oak and brass builder-stock ceiling fan with a can of Rustoleum Aluminum spray paint.

There you have it!  A couple of cans of paint and my boys have a whole new big-boy bedroom that will last into their teens. (we hope . . . )

Just for fun, and in keeping with my goal to stay busy this summer, I'm linking up to:

Visit thecsiproject.com

5.19.2010

Living the Dream

Sydney had her last band concert of the year last Thursday evening.  It was remarkably entertaining. We were so proud.  Thursday also happened to be the day we found out about Brent's new job.  And we were elated.  A treat seemed to be in order.  Ahhhh, Yogurtland.  Do you have one in your neighborhood yet?  Maybe it's called something else clever like Yo-diddly.  It's a self-serve frozen yogurt place that charges by weight after you build your dream creation out of their many flavors and toppings. 37 cents per ounce.  It is delicious.  Our kids went down the line, hesitant at first, but gaining courage as Dad urged them to get "whatever you want". He had a job again and was now ready to release the flood gates we had carefully held on our budget for the past two months.  They filled their bowls with one flavor, then another, then yet another.  Pilled on the gummy bears and peanut butter cup pieces.  Wait, there's Captain Crunch and mini chocolate chip cookies?!  Load on some of those, too, and drizzle that bad boy with chocolate AND caramel topping.  Their cups literally ran over.  We sat down outside, enjoying one of the last pleasantly cool evenings for a while.  Some light conversation and laughter.  At one point we all fell silent, enjoying our yogurt monstrosities.  Then D looked up and summed up the evening in four simple words.  "I'm living the dream."

5.18.2010

I Got Junk in the Trunk

I mean, we all KNOW that.  But this time I mean it literally.  Brent and I were out junking at Savers yesterday to get a few more things for camp and some baseball mitts and we came across this little diamond in the rough.

It was small enough to fit in that spot in the living room that has always been missing something and cheap enough that I won't be devastated if my first attempt at reupholstery fails miserably.  So there it was sitting in the living room, waiting to be recovered in black and white checked fabric when I got a crazy idea.  What if we used cool old t-shirts to cover the chair?!  It would totally go with the artwork in the room.  It's a little kooky, but I like kooky so we went out and found these cool vintage-y t-shirts today.
 What do you think?  Too far off the deep end? It's not too late to go with the black and white. (Though I think my mind is made up, I'd love to hear opinions.) Photos will follow . . . after camp.

5.17.2010

Summer Quickly Aproacheth . . .

It is about this time every year that I panic (just for a moment) about how I am going to keep myself sane for the next two months.  If I don't have a plan, the normally pleasant routine of our days quickly devolves into me, un-showered for days on end,  running around screaming like a fish-mongers wife, and breaking up fights.  It's not pretty, folks.  Yes, we will swim almost daily and go to the summer movies once a week.  Yes, there will be playdates.  Yes, we will beg our friends to let us come play with their triplets.  Being inherently selfish, I'm left wondering what's in it for me (other than playing with the babies)?!  So I have a goal.  I'm going to complete one crafty-type project a week to share on (my favorite) Tatertots & Jello's weekend wrap-up party.  Just because I'm happier when I'm in creative, productive mode. And because it will give me something to blog about.   And because I see nothing wrong with sitting my kids down in front of the tv/computer/ipod/video game eating these
for a couple hours a day.  Seriously.  Nothing.  They are delicious.  It's summer break after all!  Wish us luck.

5.14.2010

A Good Day

My husband got a job!!!!!
The very one he interviewed for one week into this going-on-eight-week "vacation" he has been enjoying so much.  The one that we heard nothing about for so long that we had pretty much written off.  No matter.  It's a tremendous blessing.  Yesterday was a good day.

5.13.2010

It Must Be That Time Again . . .

Stacks of pajama pants and carefully crafted teen-age-girl-oriented goodies on every flat surface of my bedroom.  Multiple daily trips to Michael's and Joann's.  It all adds up to only one thing:
GIRL'S CAMP IS COMING!!!!!!!
The theme theme this year is "The Hero in You" and our group's superhero is The Flash.  We have sweet pajama pants ($4 online clearance scrubs doctored up with yellow ribbon), Hoodies (gathered from every Goodwill and Savers within a ten-mile radius of my home and doctored up by yours truly -- because it might, possibly be almost cool in the evenings) , and custom pillowcases along with a few other surprise treats that I can't share at this point but would really like to because they are, honestly, the cutest things I have ever made, but I don't want Sis to see them yet because my baby girl gets to come to camp with me for the first time!!!!!!!  (*pause for breath*)  I'm thrilled to death, but it has surely made my prep a bit more tricky this year.  While the fundraisers and paperwork almost do me in, this is the part of this calling that keeps me coming back for more.  It's almost akin to preparing for Christmas for me.  Really, I go a little overboard sometimes.  I have this crazy notion of wrapping our entire addie (cabin) in red butcher paper with a big Flash insignia on the door and stringing the porch with red Christmas lights and lightening bolts.  I just want our girls (and especially MY girl) to have the greatest time.  And, if you've ever been to camp here in Arizona, you know it's all about going "Over-the-Top".  Looooovvvvve it!


5.12.2010

"Sew" Dang Cute!

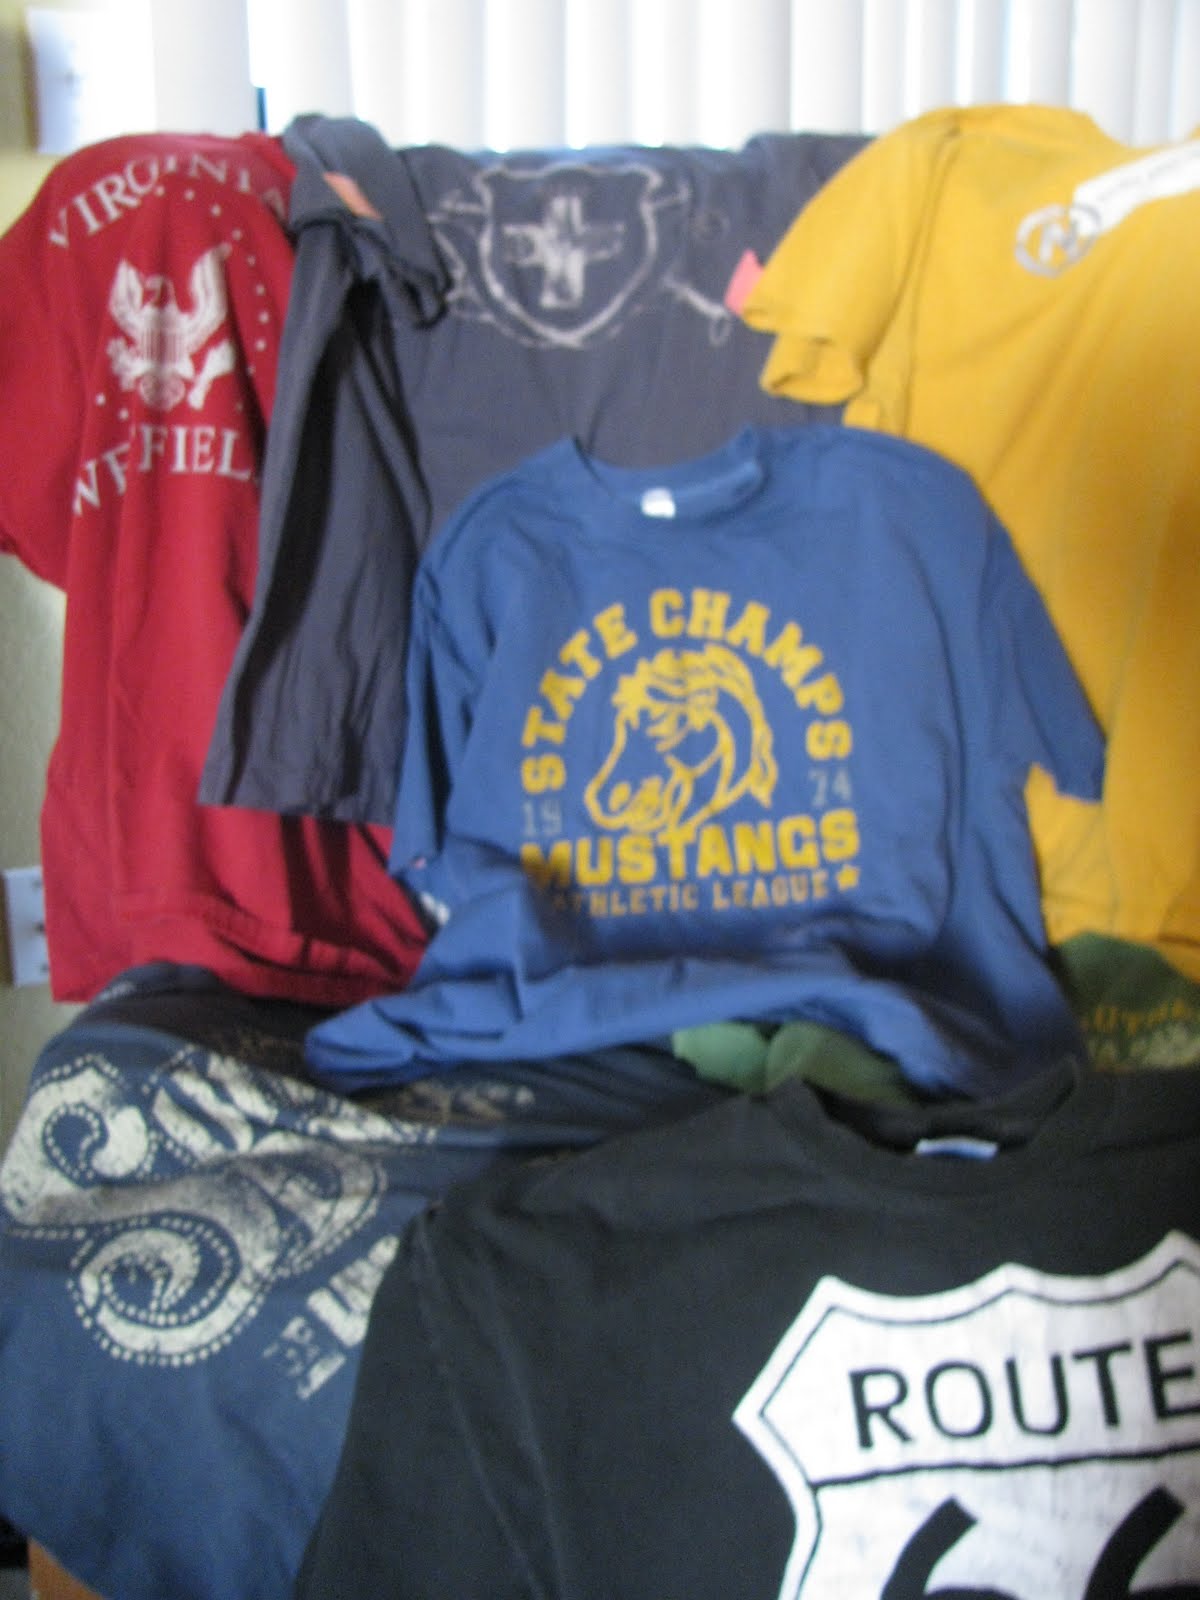
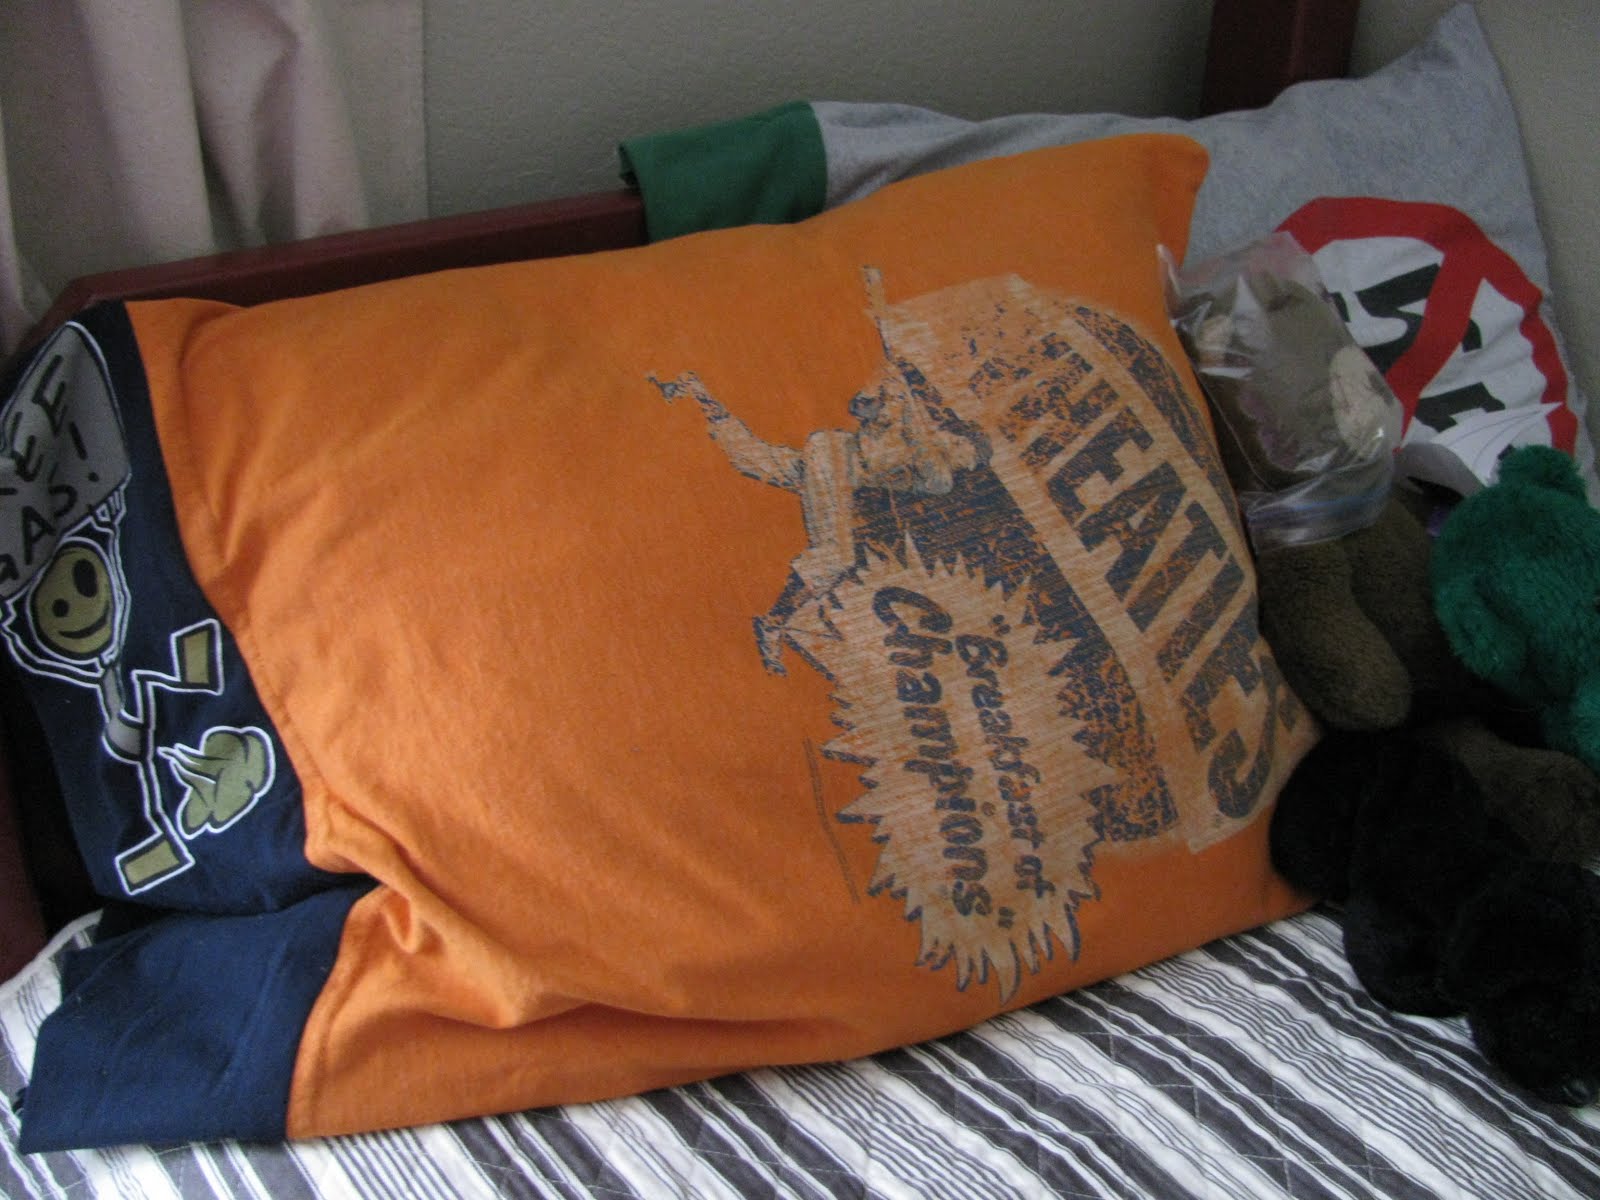
So, I've been going to Girl's Camp a long time.  5 years as ward camp director now.  Not to mention the Youth Conferences I've attended.  Or the school musicals.  And I have the stack of boxy "unisex" t-shirts in my closet to prove it.  Why, why must they use men's t-shirts for us "curvy" women?!  WHYYYYYYY?  The logos are cute(ish) and they all bring back memories of good times.  I can't bring myself to throw them away, but I'll be darned if I'm gonna' wear 'em, even for working out.  I got to thinking, "There must be a way to cute-ify these bad boys up."  And I was right!  Here's how:  (Not because I think you'll want to follow along with me -- though I hope you do find it useful -- but because I fear I'll forget how I did it if I don't document it.)
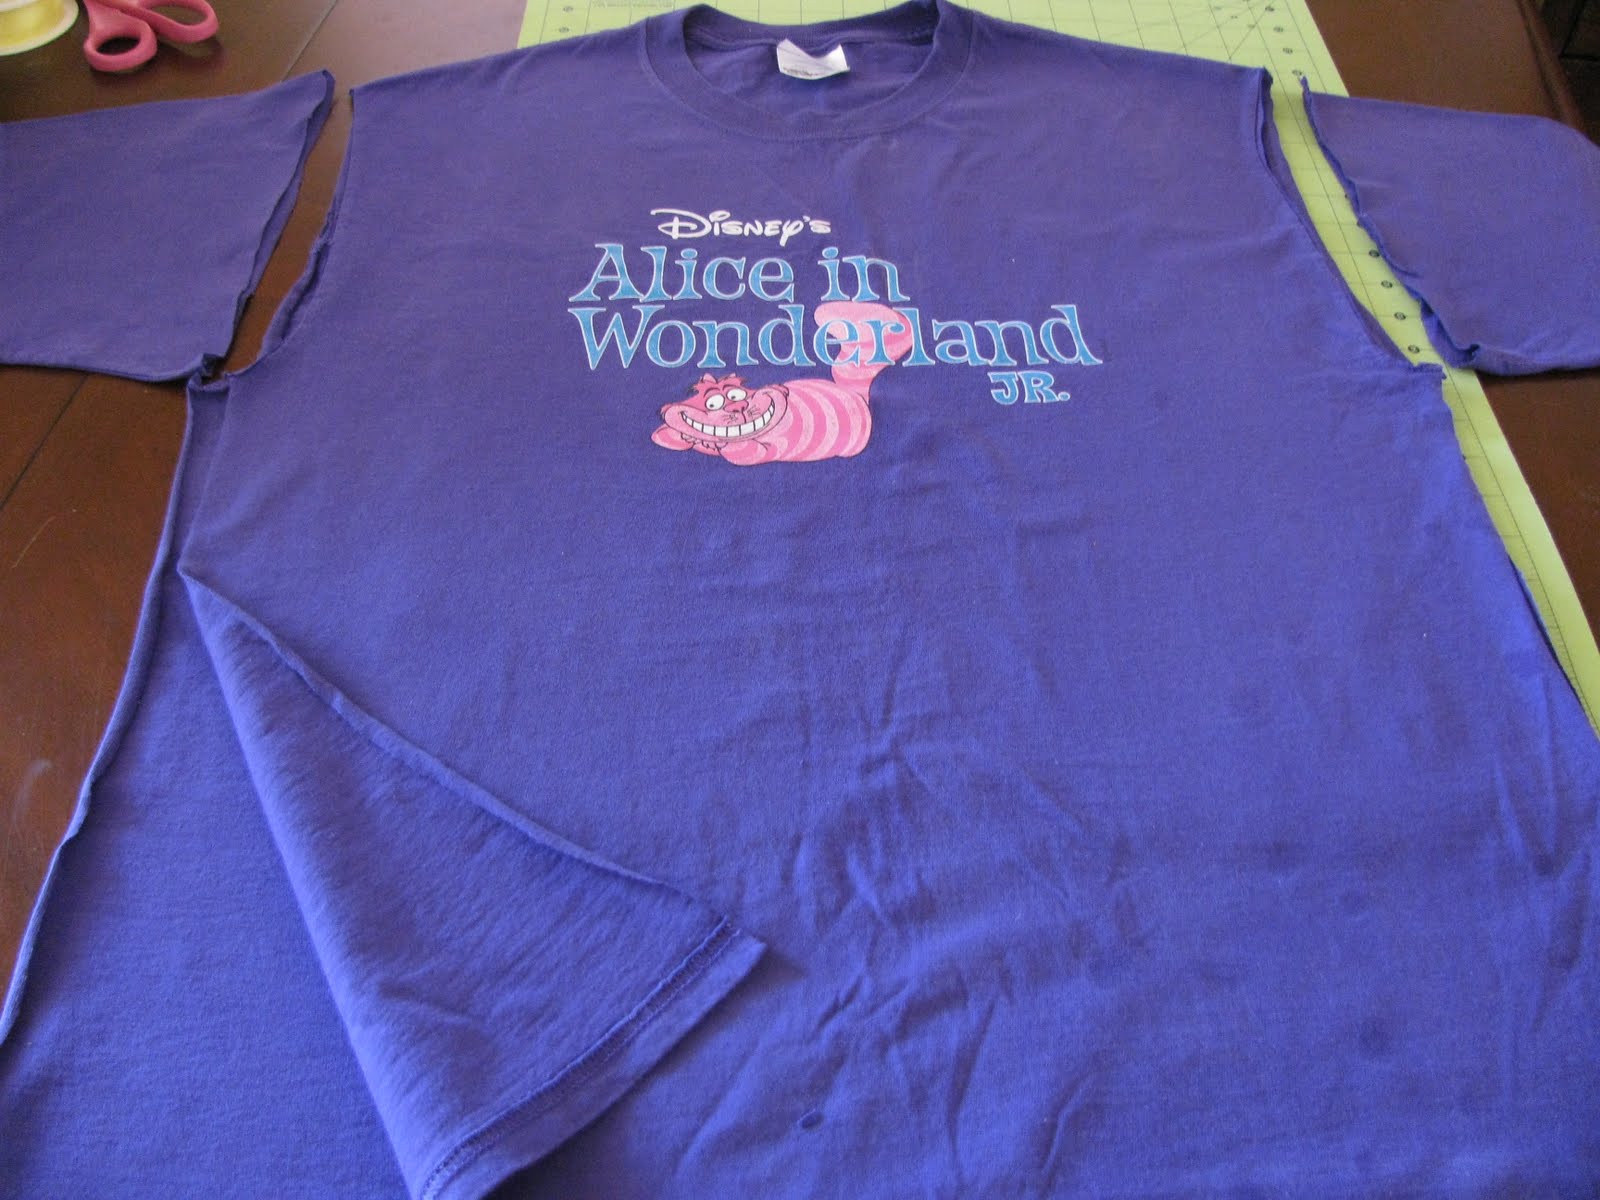
Step 1:  Demolition
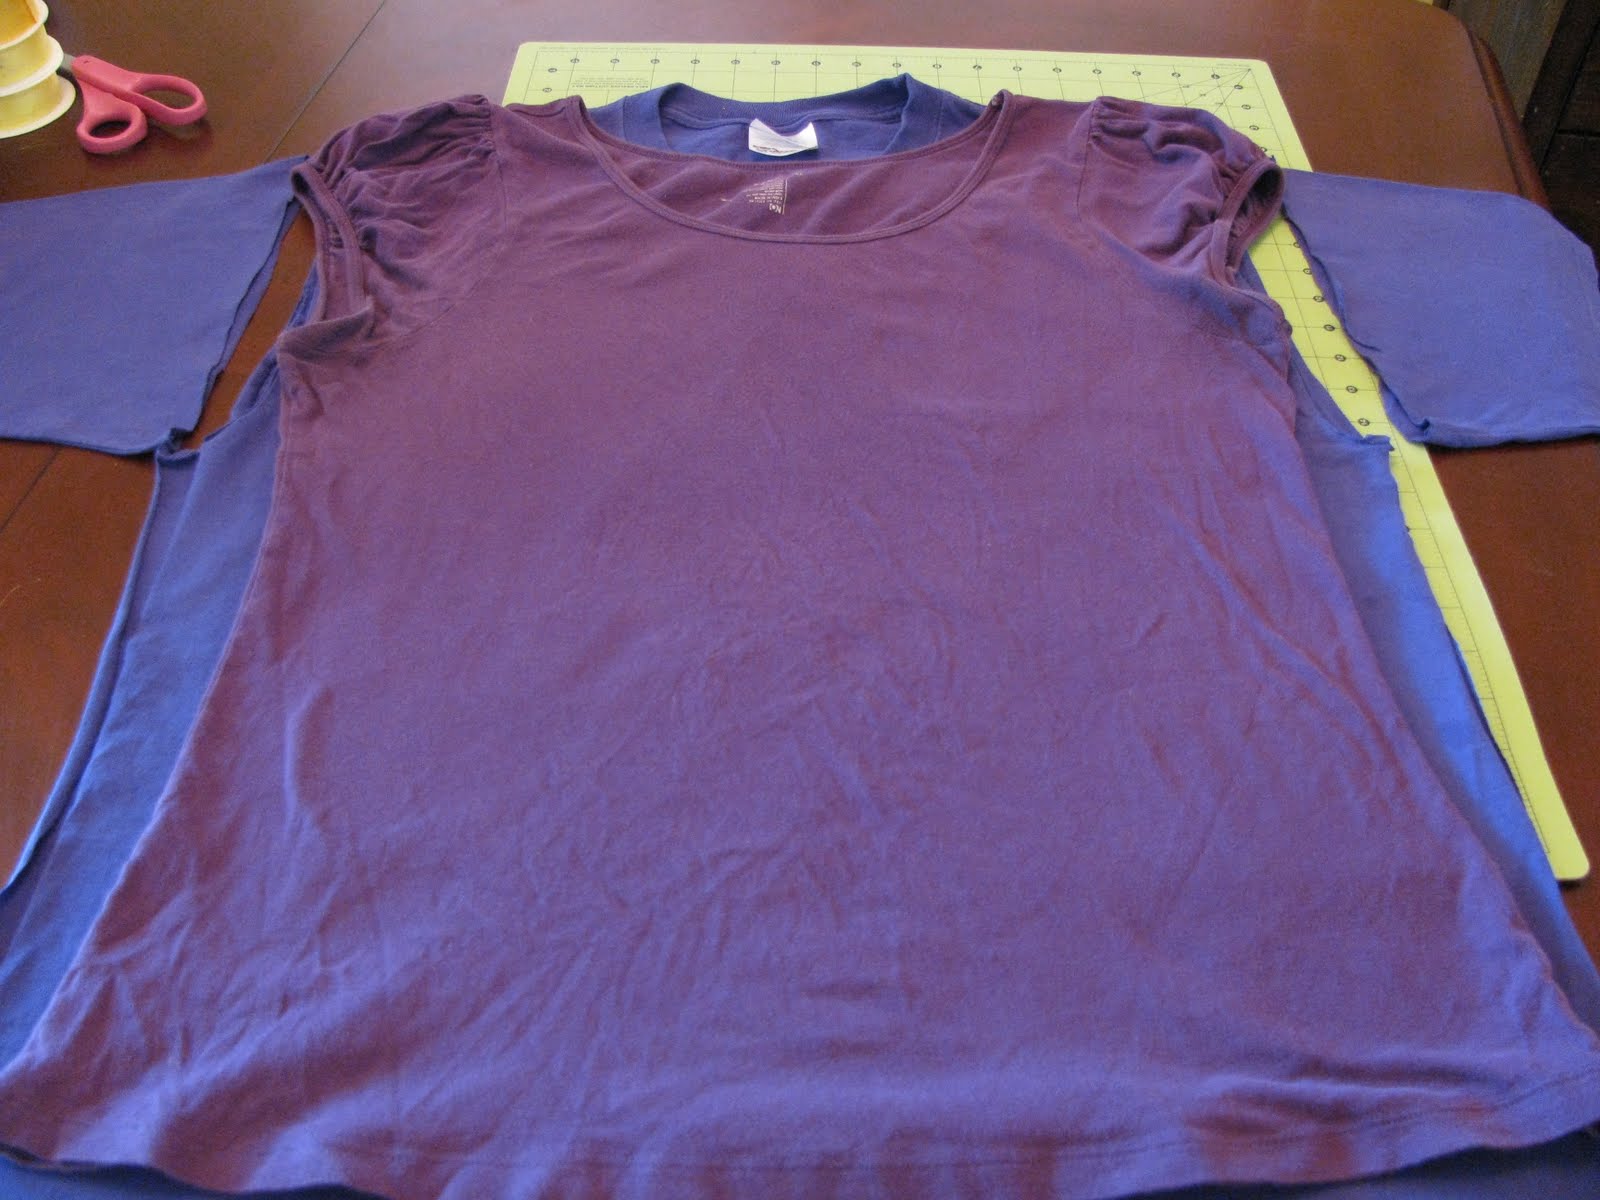
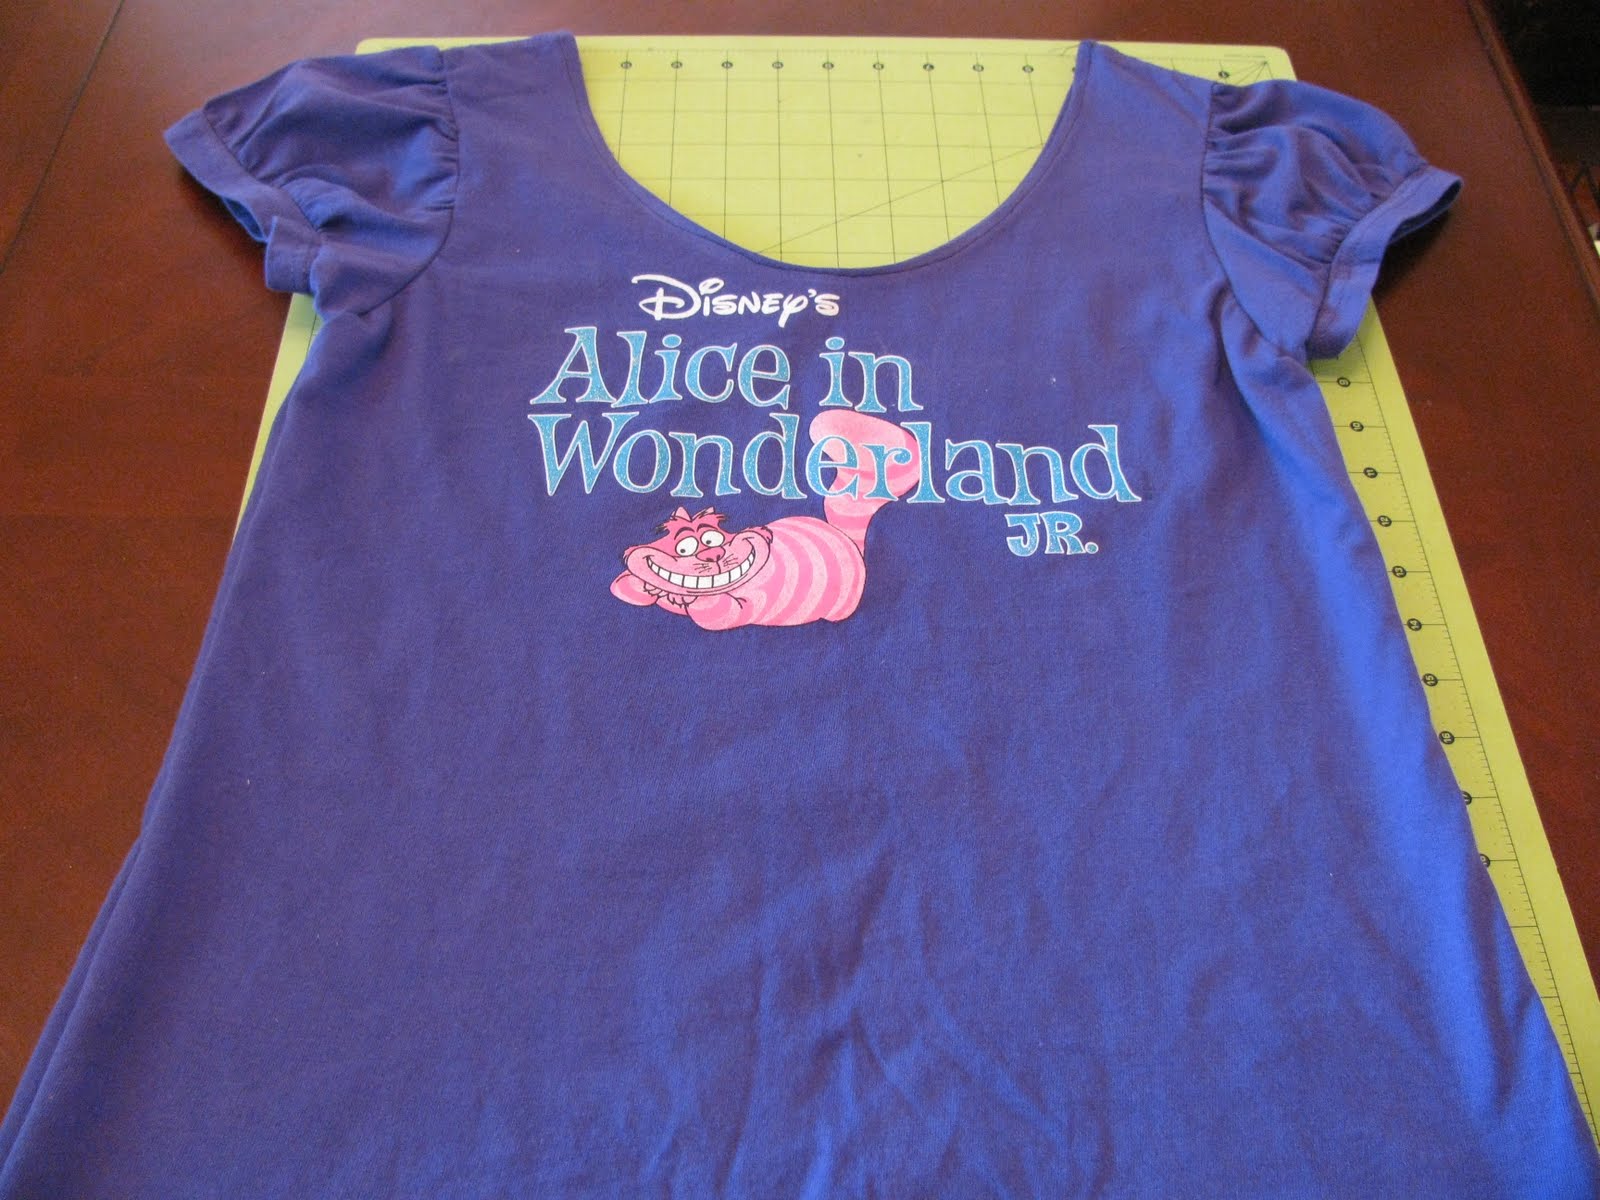
Lay your t-shirt out flat.  You'll probably want a shirt that's a size or two larger than what you'd ordinarily wear.  I like a large these days so I started with an XL. (But I did another one with a large that worked out OK, too)   Cut your sleeves off following the seams.  Cut each side at the fold.

Now your shirt is only attached at the shoulder seams and the fabric will lay really flat for you to work with.  I used another t-shirt that I really liked as a pattern, laying it on top and cutting around it, leaving an extra 1"-ish on each side for seam allowances.  You could trace it with chalk and then cut if you prefer.

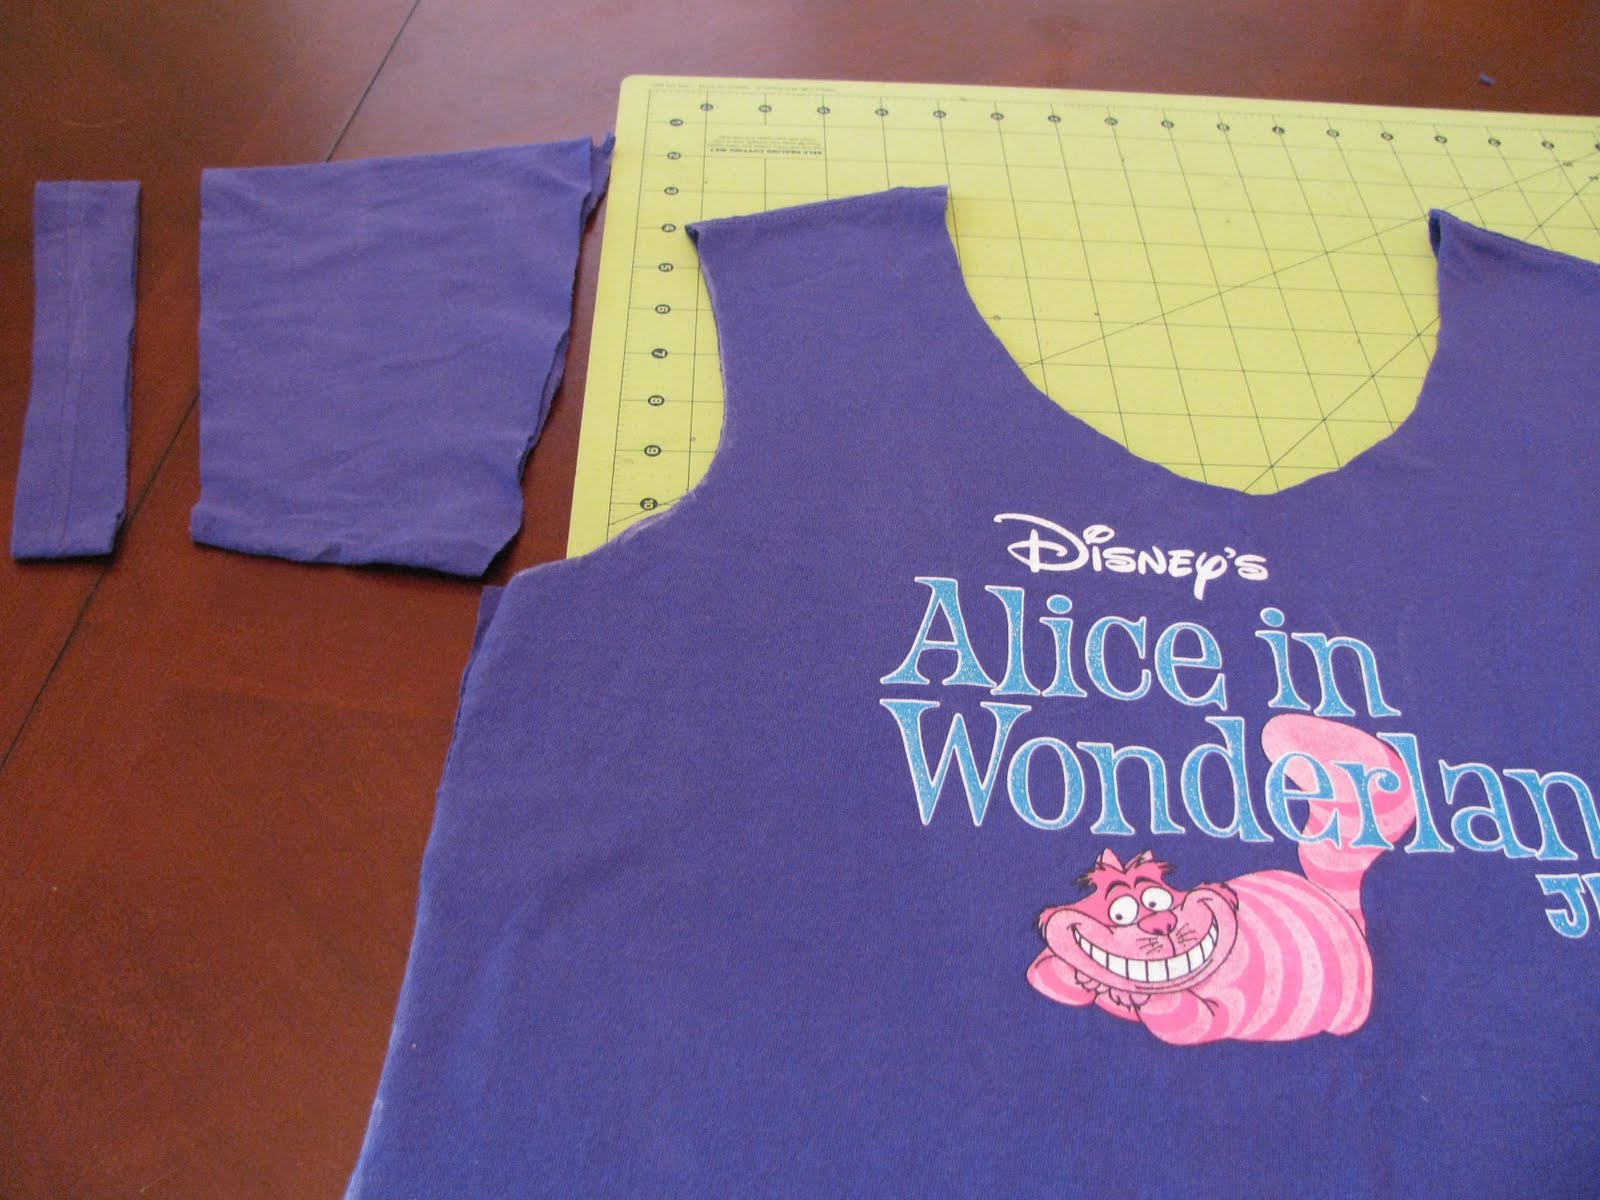
Cut the hem off of each sleeve about1/2 " above the stitching and save for later.  Also remove any of the old seams at the shoulder edge.

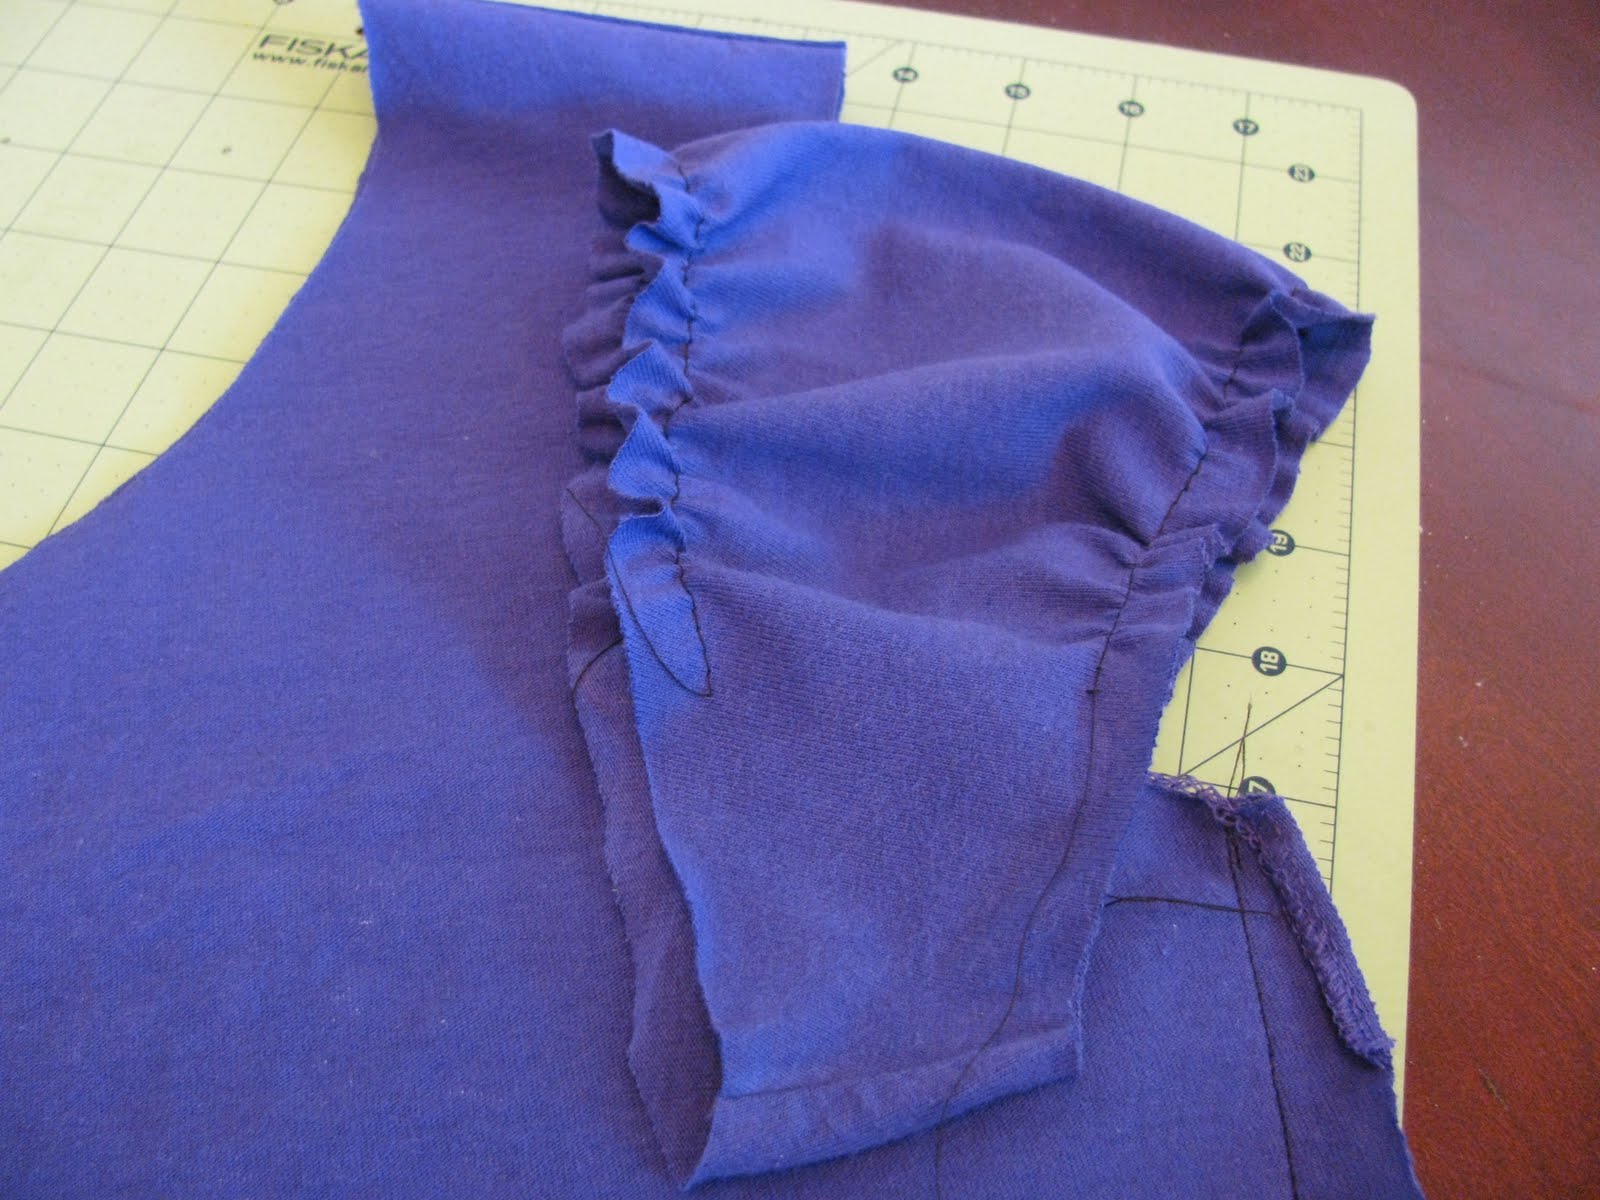
Lay your sleeves one on top of another and mark the underarm seam of the sleeve 2" long.  Draw a diagonal line from the 2" mark at the underarm to the outer edge of the upper arm.  Cut along that line, saving the bigger pieces.

Step 2:  Reconstruction
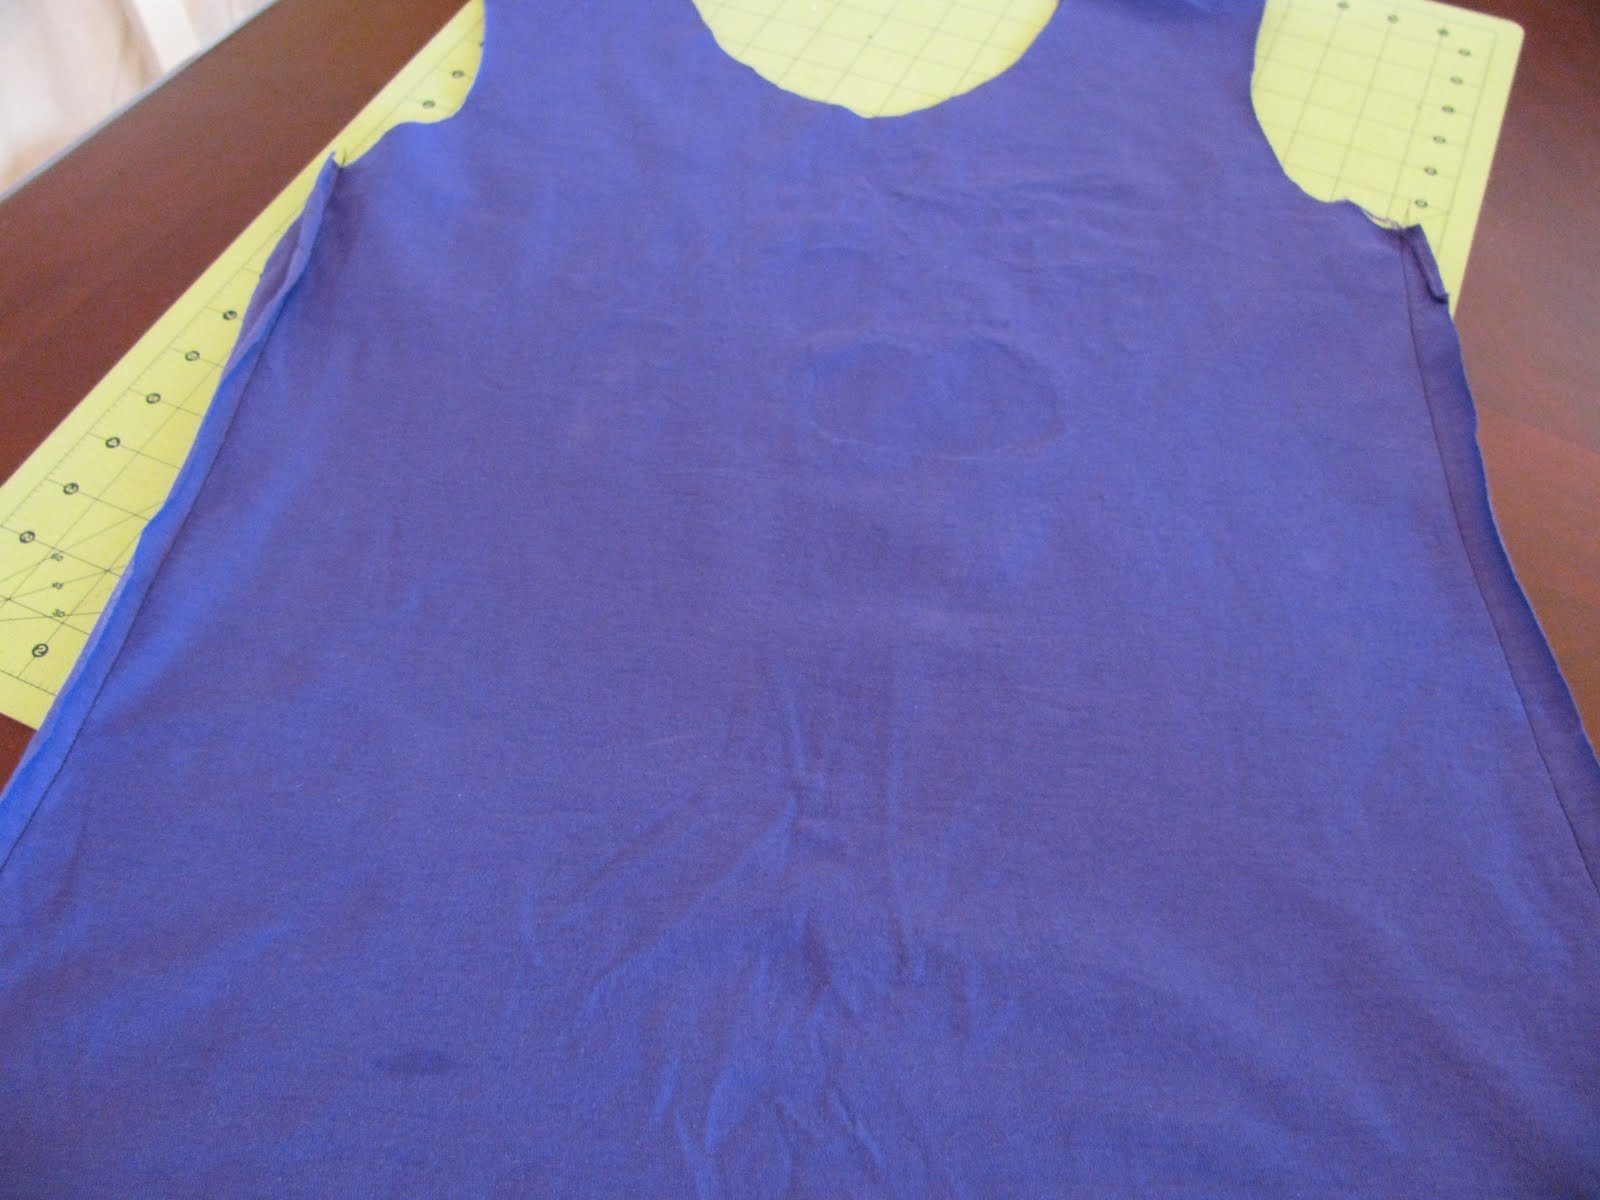
Turn your t-shirt inside out.  Sew up each side seam.

Advanced Note:  If your t-shirt is really long you could ruche the side seams now by pressing open the seam and, on the wrong side, sewing a 2" long (or however long you wanted your finished gather to be) piece of 1/4" wide elastic from the bottom hem up the middle of the seam, pulling the elastic taut as you go.

Using a basting stitch, sew around the top and bottom edges of each sleeve 3/8" from the edge.  Pull one of the strings to gather each edge slightly.

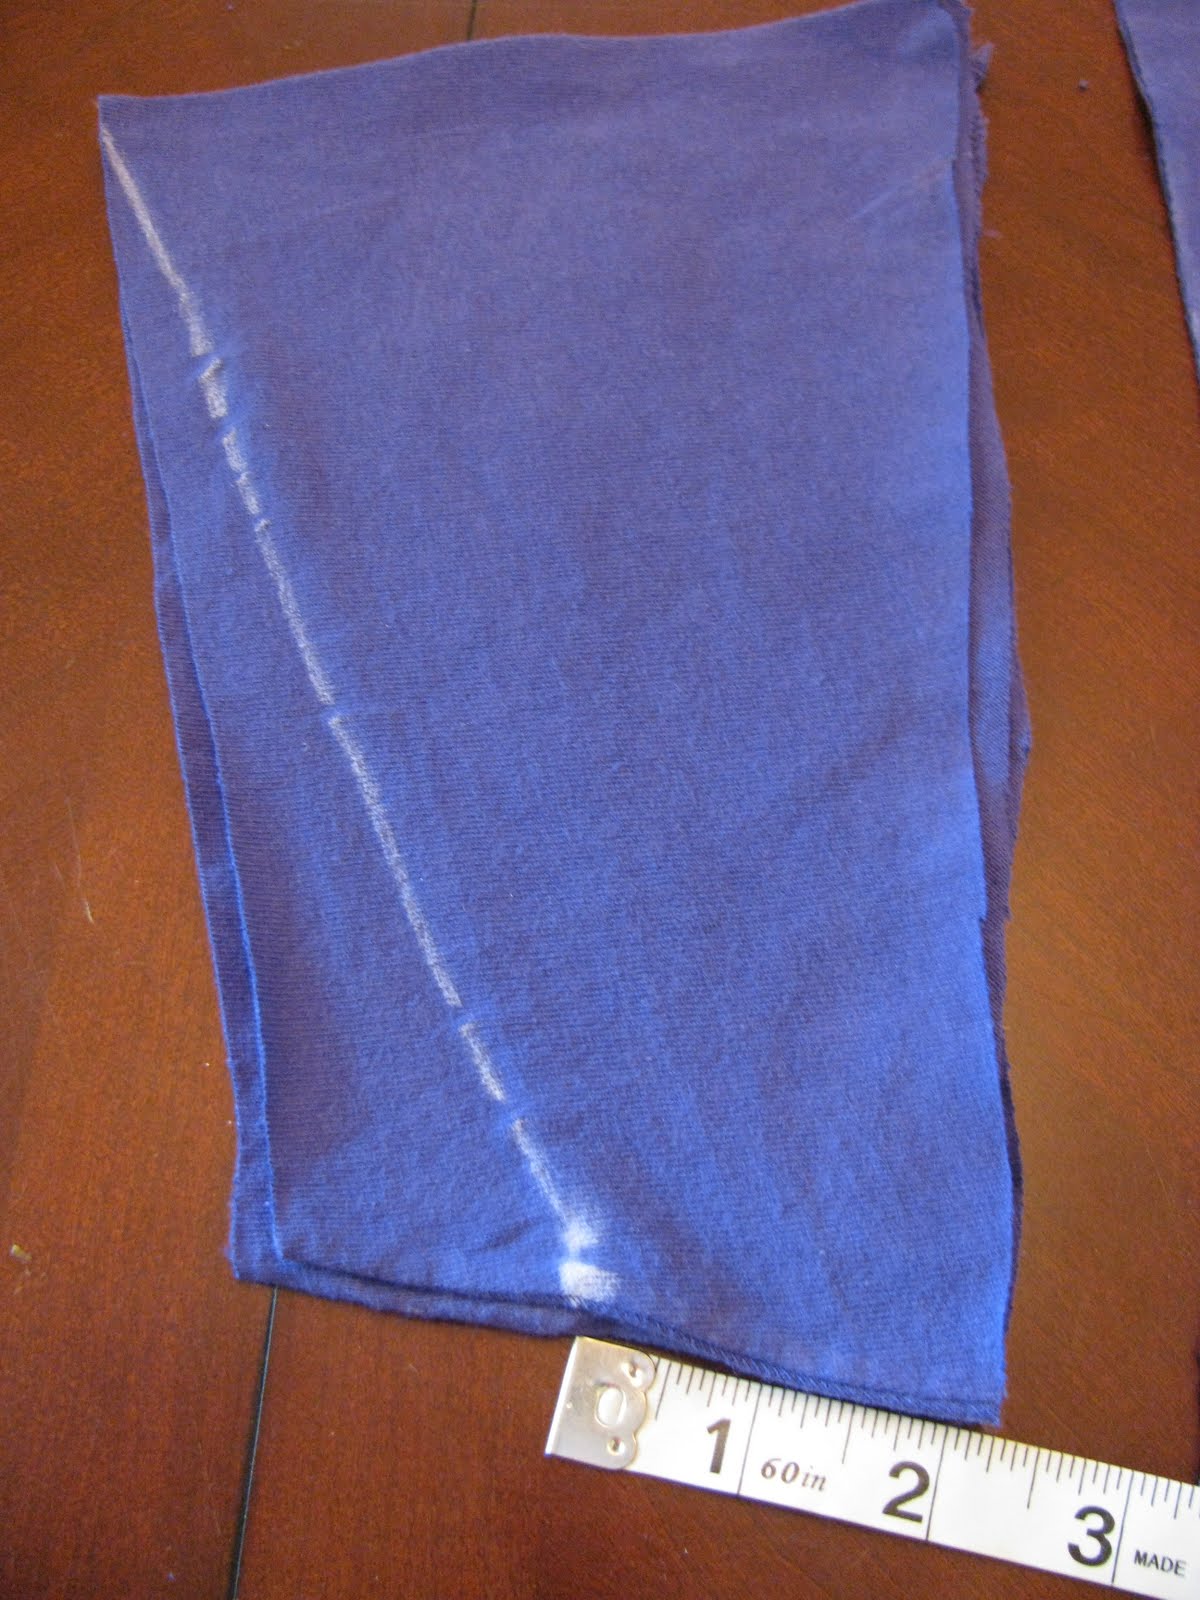
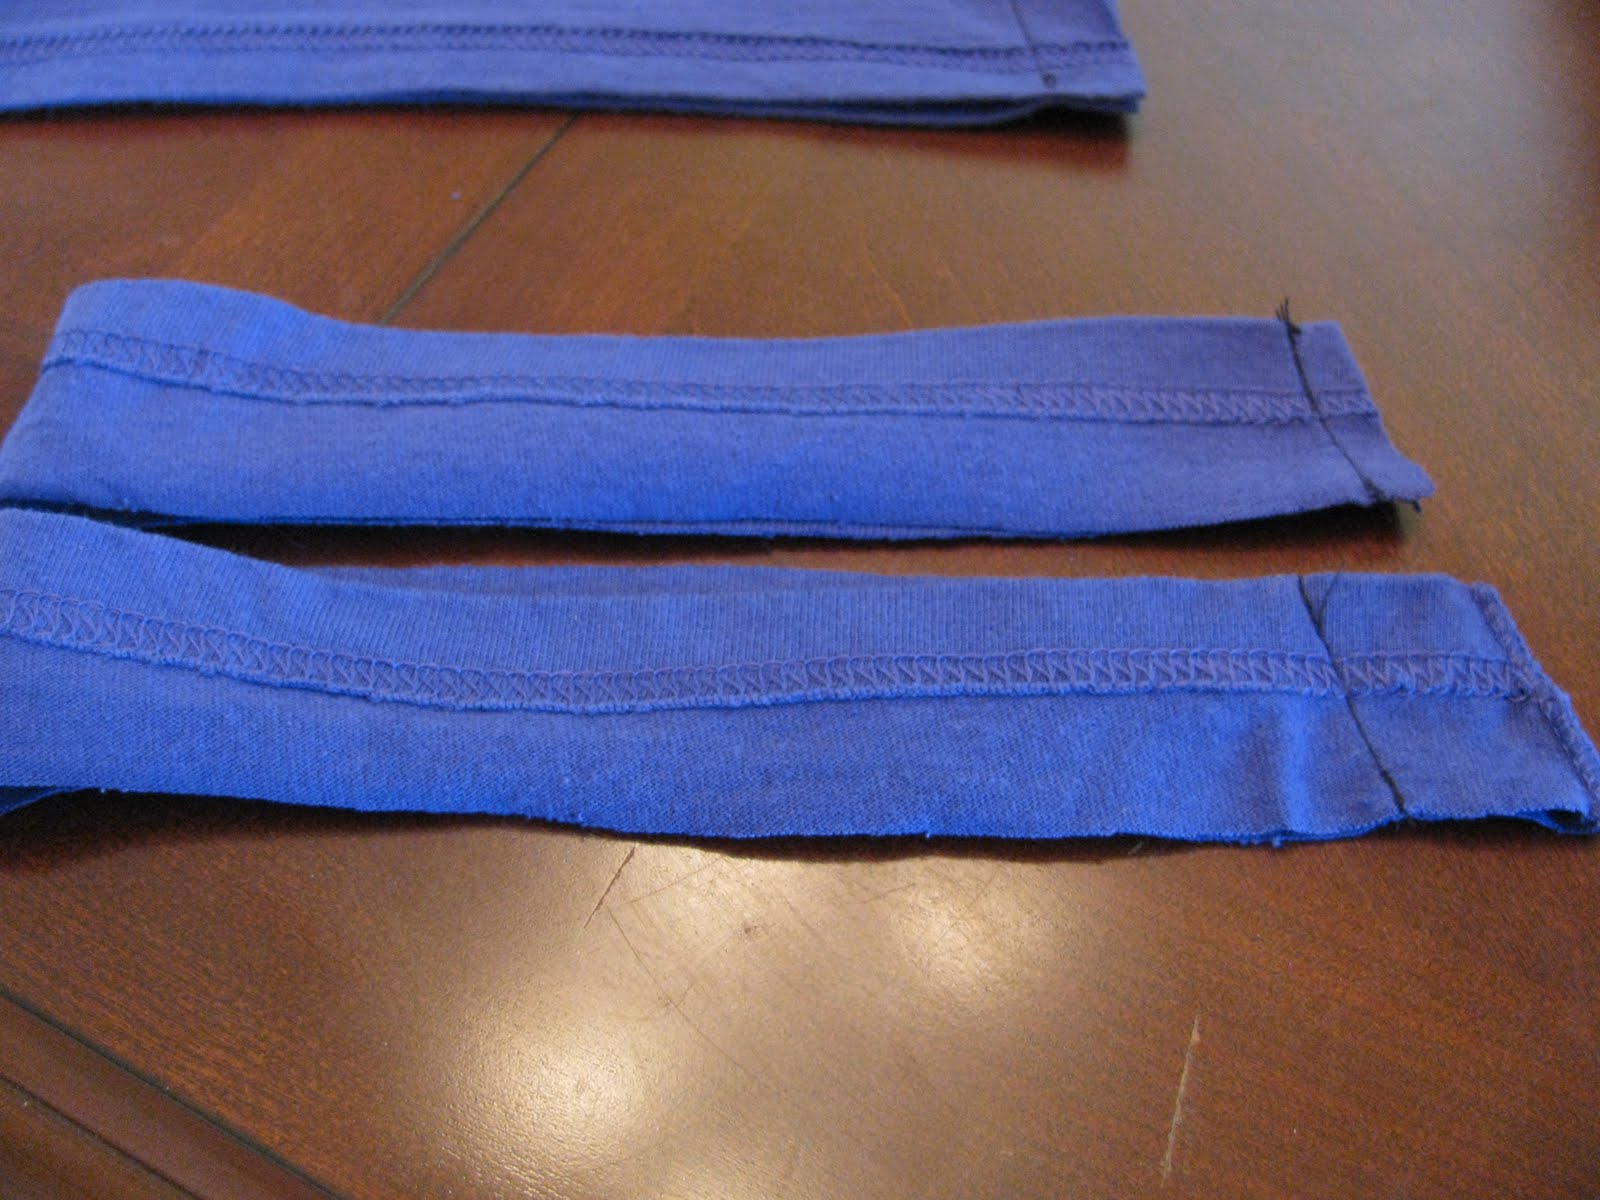
Take each sleeve hem that you removed and saved before and lay it flat with the right sides together.  Sew it together 1" in from the existing seam.  Cut off excess.

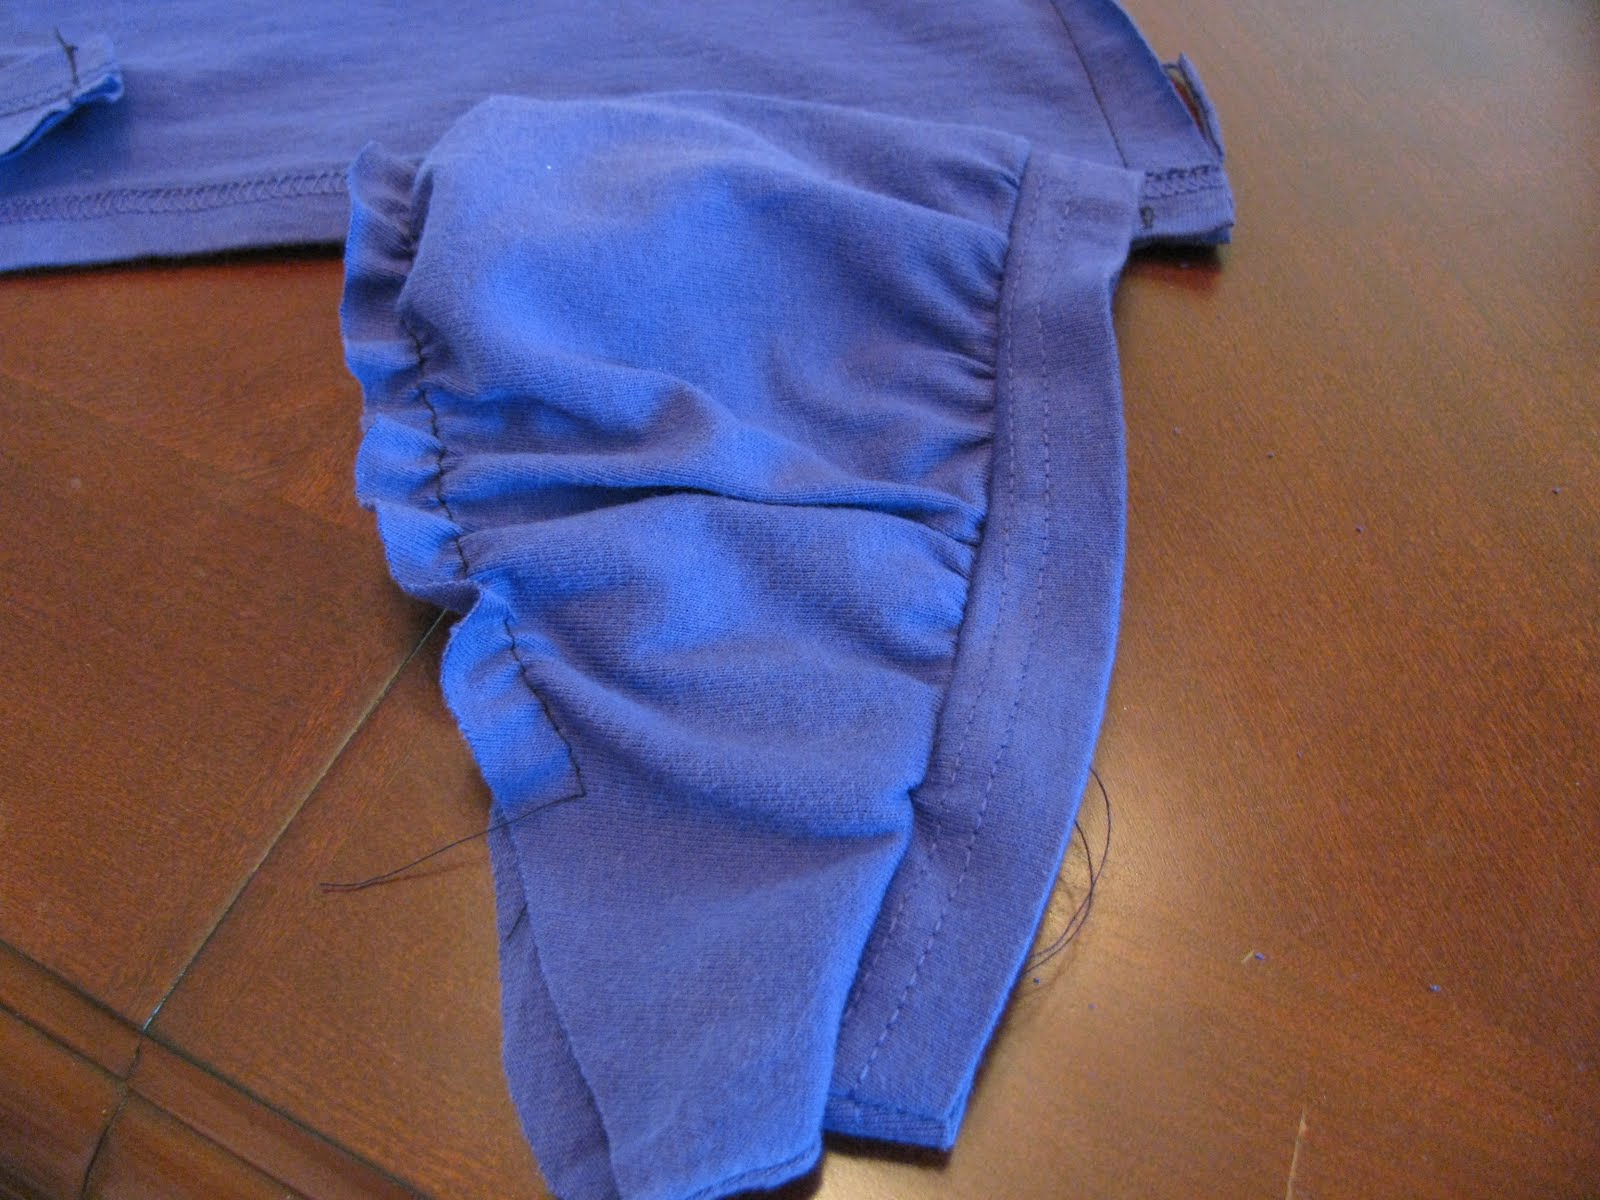
Take the smaller (bottom) edge of your sleeve and pin the raw edge of the old sleeve hem to it with right sides together, gathering up the excess sleeve fabric.  Sew around it with a 5/8" seam.  Trim the raw edges down to about 1/4".   Turn it right side out. (Because if you're like me,  you'll be dying to see how pretty it looks!)

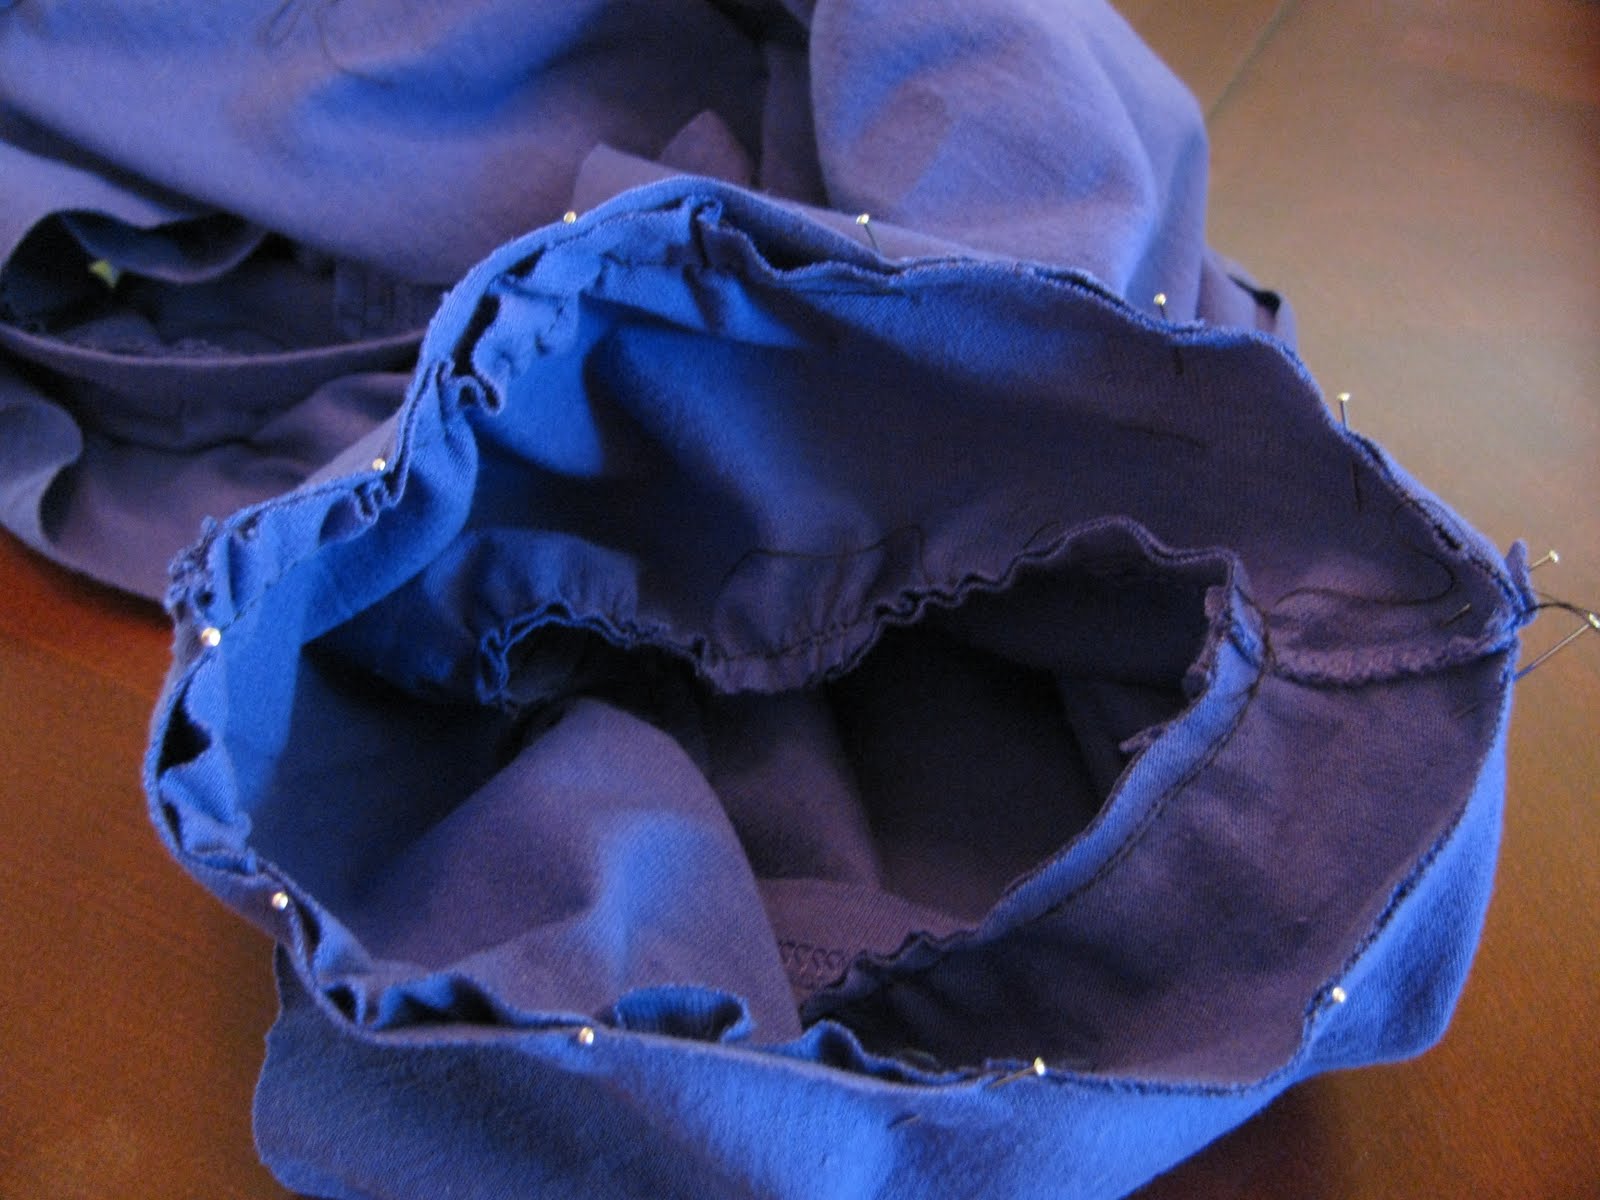
Now pin it to the body of the shirt, right sides together, matching the underarm seam on the sleeve to the side seam of the shirt.  Gather up the excess across the top (shoulder) edge only.  Sew around using a 5/8" seam. You don't need to trim this one.

Turn it right side out and admire your handiwork!

Finish the neckline by sewing a simple rolled hem. (Fold the raw edge under about 1/4" then fold it under again, pin and sew.) 

Et Voila!  If you do follow along at home, you may want to practice first on a shirt that is less sentimental.  I'm just sayin'.  Also, I've noticed that some of the t-shirt fabric is thicker than others.  If you have a particularly thick, less-stretchy fabric, you may want to give yourself a little extra room by cutting the side edges and arm holes 2" larger than the shirt you are using for a pattern.  That's what I should have done with this one. Good luck and happy sewing!

Join us Saturdays at tatertotsandjello.com for the weekend wrap up party!

Correct Me if I'm Wrong . . .

. . . to be a little miffed that a mural client of mine liked the design I came up with for their space so much that they used it again at another location, but had someone else paint it.  Not angry, just a little . . . bristled.  The consolation is that mine looks WAAAAAAAYYYYYYY  better.  Whatever.  I'm over it.  Almost . . .

5.11.2010

The Widow's Mite -OR- My Mother's Day

I've been M.I.A. on the blog front lately.  I'm just so enjoying having a real-life adult around to talk to all day long and I haven't needed this outlet as much as in times past.  And, honestly, there's just not that much to say. I've been feeling a little "dumpy" these past few weeks and thought I would spare you all the pity party.  However, I miss documenting the day-to-day happenings of our slightly off-kilter household and someday I'll regret this lapse in motivation.  I haven't written about my trip to the symphony with the 6th grade band (musical talent is always stunning to me) or posted pictures of my bedroom (I've been in the throes of camp prep and the photograph-ability my room has suffered as a consequence).  I even missed blogging about my 14th anniversary last Tuesday.  Such a shame.  Sunday, Mother's Day, was fantastic and I just couldn't let that one slip by.  Brent and the kids spoiled me, as usual.  We ate this deliciousness for brunch after church:
  (Click photo to enlarge.)
Brent found the recipe all on his own and made it with the help of the kids.  Sis made Orange Julius smoothies.  Tre`s magnifique!  There were the usual hand-made gifts we mothers all adore -- a painted flower pot from Sis with tulips to plant in it, a ceramic turtle and a pop-up card with coupons good for snuggle time and chores and the like from Dylan, an ice cream cake from my partner in crime.  There was one gift, however, that will forever hold a special place in my heart.  I hesitate to share this story because I know that Sis reads my blog (love 'ya, babe!)  and my appreciation of this one particular gift in NO WAY diminishes my gratitude for all my other gifts.  But Riley.  Riley, Riley, Riley.  He gave me a homemade card made at school where they had to fill in the blanks ( My mother is kind because______________.  etc.) and almost every answer was tied to his diabetes in some way.  I guess it has been weighing heavily on his mind lately as the 4 year anniversary has recently come and gone. He mentioned that in the card.   I had no idea.  So self-absorbed am I that I failed to notice my little guy struggling right under my nose.  But that is not all.  Inside the card, wrapped up in tin-foil (presumably because I like sparkly things -- I really do) was a $5 Target gift card.  This child who has been saving his pennies for months to buy a new Nintendo DSi chose to give me all that he has for Mother's day.  It was a small gift by worldy standards, but to me it meant the world.  It will take him weeks to make that money back again and months to reach his goal, but he wanted to do something nice for me.  I have good kids.  Good, good kids.


5.04.2010

And the Winner Is . . . .

Option #5:  Typography!!!!!  I'm so excited to see how it turns out in real life because in my head it is BEAUTIFUL.

5.02.2010

Boys' Room Re-do


As promised, here are a few after photos of my boys' room.  I am loving the way it turned out. We raised the beds up on cement blocks so I could fit those storage drawers under them.  I also thought it added to the casual, garage-y feeling of the space.
Here is the vintage logo I painted on the floor -- with the date changed to reflect the year we bought our home.  The placement of it is deliberate.  Yes, I intended for it to run off into the closet like that.  I wanted it to look like it had been there for ages, not freshly painted, front and center.  I am thinking about adding another much smaller logo poking out from under that bed in the first picture just for balance.  That one would be partially covered by the rug we plan to put between the beds.  Awesome.

Incidentally, that is what painted plywood floors look like, if you were curious from my first post about this project. That is, in fact, what you'll find lurking under your carpet in a second story bedroom.  I loved the aged look of it with the red furniture.

We mounted a galvanized plumbing pipe asymmetrically on the wall for a curtain rod.  Those "curtains" are just painting drop cloths flipped up over the pipe.  No sewing.  Also awesome.  I wanted it to look like the pipe was already there so we just threw some fabric over it to cover the window.  Nothing is really as casual as that in my home, but that was the look I was going for.  (I may have to take the drop cloths down and bleach them.  They're looking a little too brown to me in there.)
The ugly builder's stock, faux oak and brass ceiling fan was completely transformed with a $3 can of aluminum spray paint.  That might just be my favorite part of this room redo.  Maybe.
I wanted to add a little more color to the room to break up the red, gray and blue scheme that was going on in there.  Brent and I went to Goodwill and bought a bunch of old t-shirts for $1 each and I sewed them into pillow cases. OK, that's probably my favorite thing in here.  I just can't decide . . . Those are also the quilts that I got for 75% off.  Hurrah!  Also, that teddy bear, Heavy D, is not being suffocated.  That zip-loc bag is actually a knight's helmet and he has a hand drawn shield taped to his other arm.  That is all I'm going to say about that.
And, to further prove that I haven't gone in and staged this room, you will find priceless little treasures like this throughout the space.  Ah, boys.  You gotta' love 'em.

I just have a few little finishing touches to add, like hanging the vintage posters back up and finding wall mounted lamps for over the head of each bed.  We are all thrilled with the way it has turned out.  I'm so happy with it, in fact, that I am getting brave enough to share it at the Tatertots and Jello Weekend Wrap-Up Party.  Those are the big leagues, man.  As always, I'd love to hear what you all think.  Have a great day!

Join us Saturdays at tatertotsandjello.com for the weekend wrap up party!

Related Posts Plugin for WordPress, Blogger...