

It's the BIG DAY!!You can finally see what I've been working on for the past month or so.

I'm a total dork and didn't take any before shots, so you can't see how much better it looks. You'll just have to trust me -- it looks a LOT better. I took down the giant builder's grade mirror that covered the entire wall on the vanity side of the bathroom and replaced it with this cute turquoise one.

While I was in demolition mode, I also took out the recessed medicine chest from that wall on the right of the new mirror. It was easier than I thought it would be, really, I just undid a couple of screws, cut around the edges with a utility knife to release the many layers of old paint and caulk sealing it in there, then drywalled up the hole. It only took a couple of hours, not counting drying time.
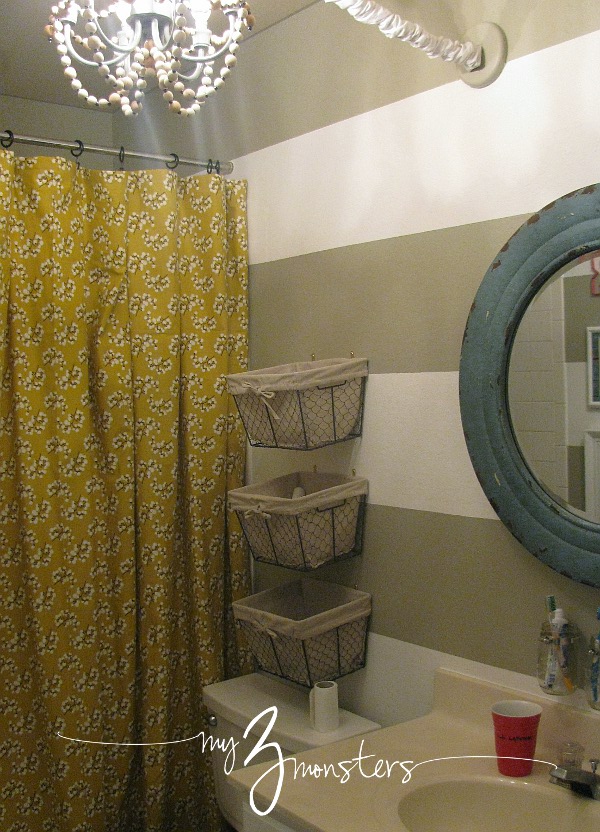
I took out the builder's grade Hollywood light fixture and replaced it with my Tatertots & Jello inspired beaded chandelier. {It's hard to take a picture of a chandelier when it's the only light source in the room, y'all.}
The next step in the makeover process was painting the gray and white stripes. I LOVE the cool, clean graphic look of it. My favorite thing to make a room home-y is to mix a lot of colors and patterns. Obviously bathrooms don't have a lot of fabric in them, so I had to use the paint treatment on the walls to add another layer of pattern in there. My stripes are 12 inches wide, but they can be as wide or as narrow as you like.
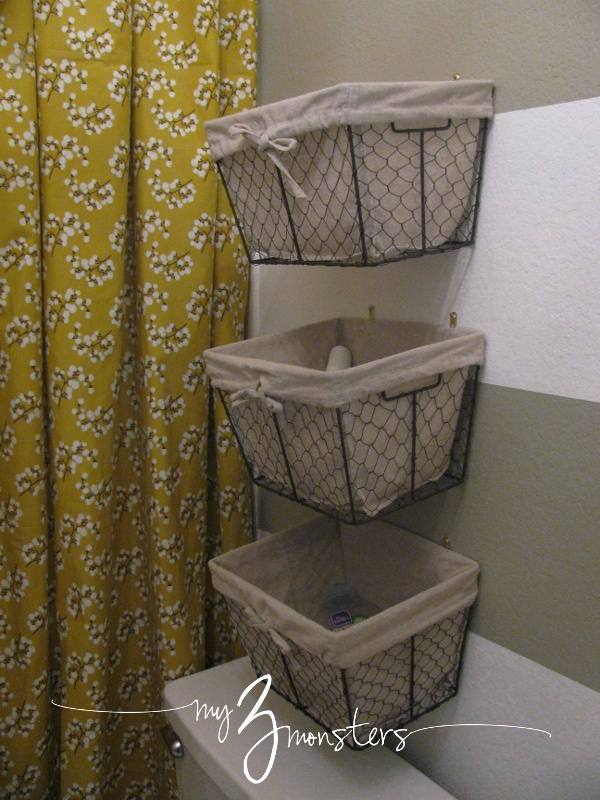
Once all the background finishes were done, it was time to add the fun stuff! I found these awesome chicken wire baskets at World Market and hung them on the wall using picture hanging hooks. There is one for each kid to store their hair gel, combs, deoderant, and other personal effects. It makes up for the {minimal and hardly ever used} storage we lost by removing the medicine cabinet.
I sewed the shower curtain myself from some fabric I found at JoAnn's a while back. It's just a big rectangle of fabric, hemmed on all 4 edges, and hung using curtain clips. I took the old plastic shower curtain and clipped it up behind the fabric to keep things waterproof.

I loved this idea from Pinterest for storing toothbrushes and toothpaste. It's just mason jars and metal straps from the hardware store. I think I paid about $1 for all 3 straps. I'm not gonna' lie, this was probably the most difficult thing I did in this bathroom. After drilling holes in the wall and hammering in drywall anchors, I tried to drill pilot holes in the metal straps for the screws to go through. Then I broke some drill bits. Then I cut my finger. Then I fashioned a bandaid out of painter's tape because my kids had used all of the real ones. Then I tried to hammer a hole in them. Then I cursed mildly and cried. But EVENTUALLY I got those gosh-darn screws in there and I LOVE them. It might be my favorite part of the room.

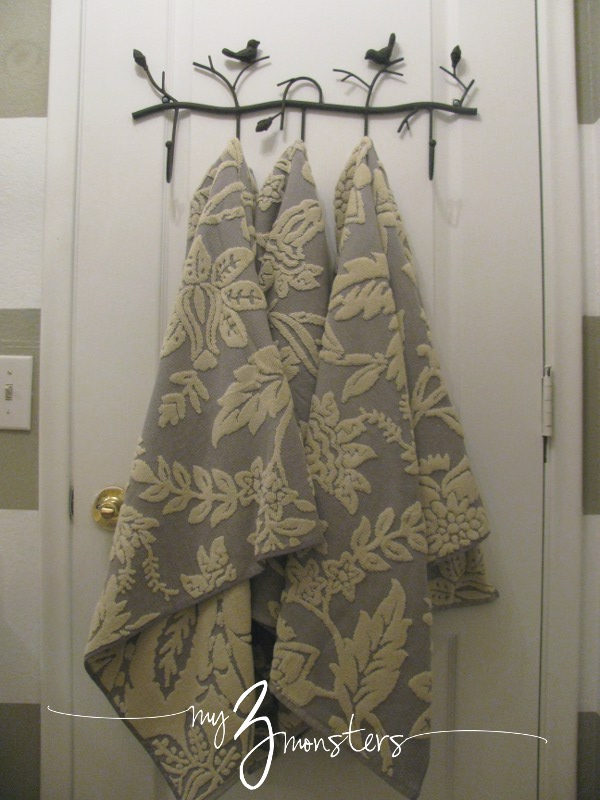
I love this metal bird towel rack that I found at Hobby Lobby {half-price, baby}. I wanted to mount it on the back of the door to free up a whole wall for my art gallery wall. You can pick up special anchors at the hardware store that allow you to mount heavier stuff on hollow core doors. Who knew?! I got a great deal on the gray and cream damask towels from World Market. I was trying to walk a fine line between goofy and grown-up in this room. The towels, shower curtain, and chandelier add a little bit of sophistication to the otherwise funky items. I, for one, like how it turned out.
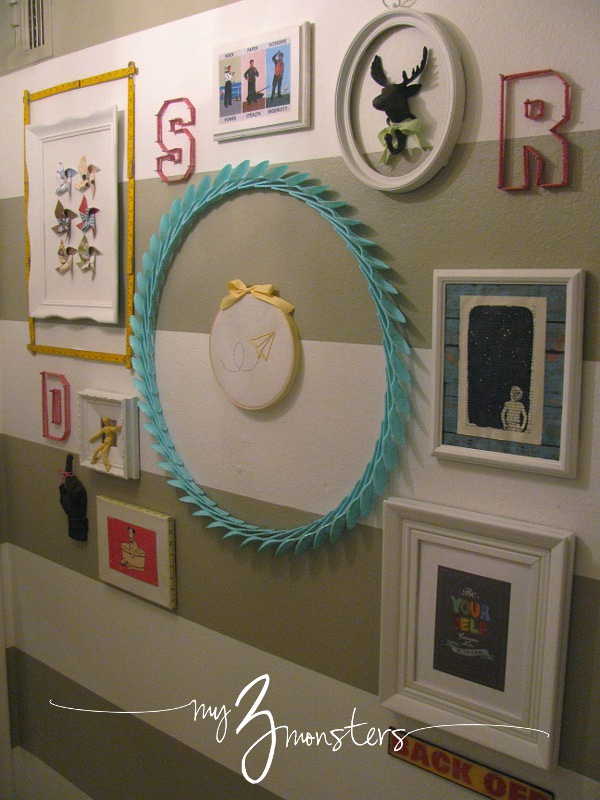
My FAVORITE part of this room is the Gallery Wall of Randomness. I've shared tutorials for just about everything. Here's what it looks like all put together:

Click on each item in the picture above to be taken to the post I wrote about it. {That empty spot underneath the spoon wreath will soon be filled. I still need to frame the picture that goes there. Here are a few close-ups of my favorite parts:
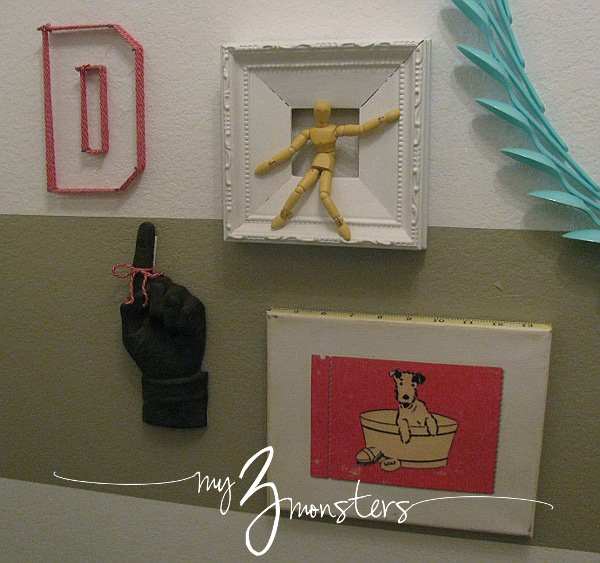
That "man on a ledge" was an impulse buy in the check out line at Hobby Lobby. I like the little pose-able mannekin so I took him home and stuck his head and booty to the opening of that small frame with E6000 glue. His arms and legs are still completely pose-able.
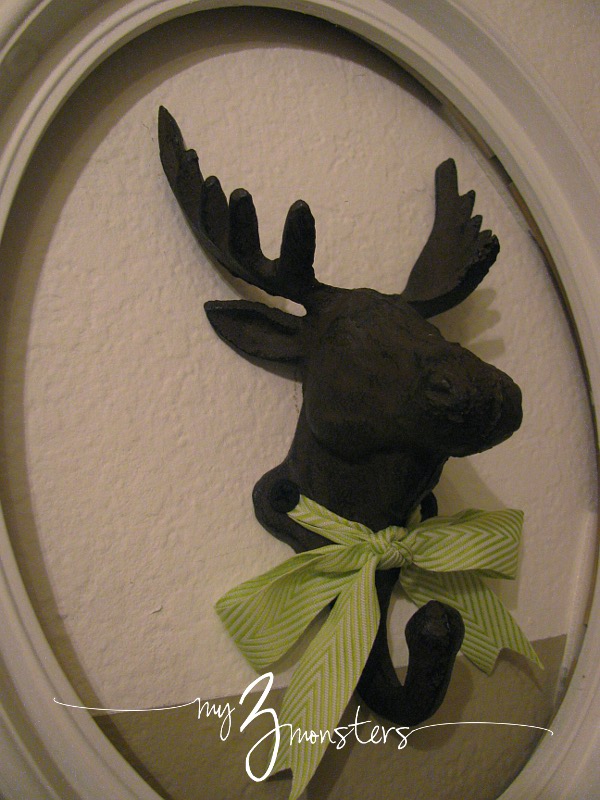
The moose hook is another silly little thing that just makes me smile. The hubs doesn't "get it", he says. There's nothing to get. It's just random, yo.

I think this folding ruler makes a pretty cool frame. Random. Whatever. The Gallery Wall of Randomness adds a fun pop of color and whimsy to what could have been a more "serious" room. It really suits our family's personality.
One of my biggest pet peeves about gallery walls is when the pictures are crooked. It looks dumpy. This is {clearly} a pretty small room so there is a lot of potential for things to get crooked. I hung almost everything with Command Adhesive picture hanging strips. They're like velcro and they remove cleanly from the wall when you want to move something -- no holes to patch! I put a picture hanging "velcro" strip on each corner of each item so they are held firmly in place. And level. Yay! It's more expensive than nails, but worth it if you're doing any kind of multiple picture display.
So there you have it! My kids' bathroom is D.O.N.E. done. Hip, hip, hooray! The best part is how much my kids love it. They were so excited to see every single thing as it went in. I love those little punks. They're worth a month of my blood, sweat, and tears. Literally. Thanks for stopping by to check it all out. Have a great weekend!


SUPER cute! I love the towel hook on the back of the door. You have so many fabulous decorations going on here, wow!
ReplyDeleteI love this bathroom, absolutely everything is perfect! Love the baskets, the mirror, the toothpaste container. I want to take out our builder mirror so badly but my husband doesn't understand why - AWESOME JOB!
ReplyDeleteThis is such a great kid's bathroom - l.o.v.e it!!! All those special touches totally put it over the top. The mason jars, although a booger to put in, are totally cool and is something I'd love to put up in my daughter's bath. Same thing with those stripes!
ReplyDeleteIt's really cute! It's good to know that the mason jar toothbrush holders were tough - I've had my eye on that idea for awhile for my kids' bathroom as well, so maybe with my expectations set appropriately PRIOR to the project, I won't have to use as many curse words or tears. ;)
ReplyDeleteThey may be easier if you have a second set of hands helping you. I was trying to do it all by myself, which was a huge mistake. Thanks for the nice comments everybody!
DeleteI love every single thing you did in this bathroom! So many GREAT ideas!
ReplyDeleteThat posable man is a stitch! I totally need one of those in MY bathroom! AWESOME! The whole thing turned out absolutely amazing. What a creative genius you are :) Thanks for sharing your knowledge with those of us who are lacking in those areas!
ReplyDeleteUh, Tammy, you are hardly lacking in those areas. You're one of the most creative people I know! Thanks though . . . I miss you.
DeleteGreat job on the bathroom! It looks amazing. This is a fantastic project! Would you consider linking this up at my Pinworthy Projects Party? I hope to see you there!
ReplyDeleteWow! This is an amazing bathroom! I love all the little details that give it a crisp and clean look, but also kid-friendly. Great job!
ReplyDeleteYou are SO TALENTED at this. I adore this bathroom! I love the moose ("there's nothing to get" - ha!) and I now know what I will get my nephew for Christmas - bacon toothpaste. Love, love, love the bathroom.
ReplyDeleteBEAUTIFUL! I see that fabric every time I am in Joann's and have almost purchased it on several occasions. I love it! I know that this post is a bit older, but would you be able to tell me where you got the "Wash your hands" printable that you have framed? I just did a minor redo in our kids bathroom and would love to incorporate something like that, especially since it matches my color scheme! :) Thank you!
ReplyDeleteThanks! I designed the Wash your Hands printable. You can download it here: /2012/07/creative-guest-worthy-bathroom-project.html
DeleteHave a great day!