

I got my inspiration from this tutorial shared by Lil' Luna on Eighteen25 way back in 2010. Basically, you just need a few sheets of cool scrapbook paper {I went with a black and white theme for mine}, some decorative buttons, twine and hot glue.
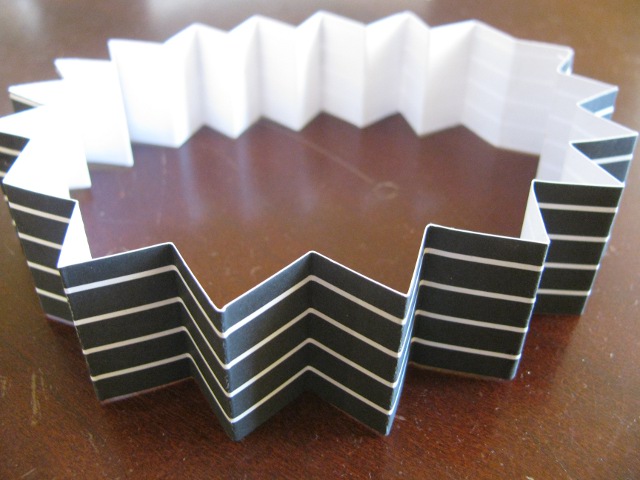
Start by cutting your paper into strips anywhere from 1-inch to 2.5-inches wide. The wider the strip, the bigger your accordion "flower" will be. You'll need two strips of paper per flower. Fold each strip back and forth to create a long accordion. No need to be exact -- just eyeball it. I think my folds were about a half an inch apart, more or less. Attach your two accordion pieces end to end to for a large ring, like so:
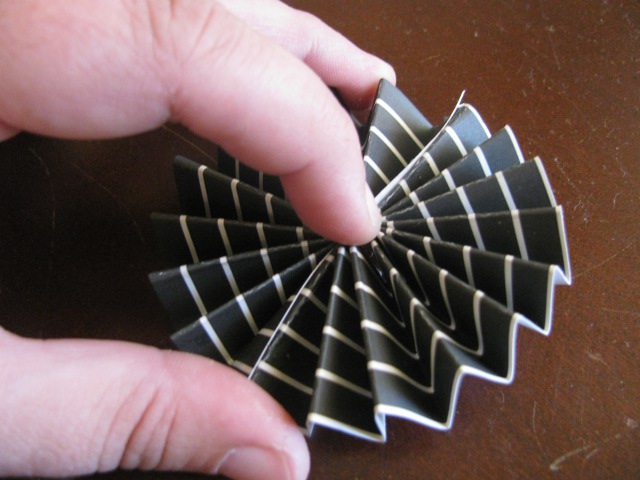
Then, the tricky part! Flatten your ring into a flower by bringing the top edge into the center, like so:
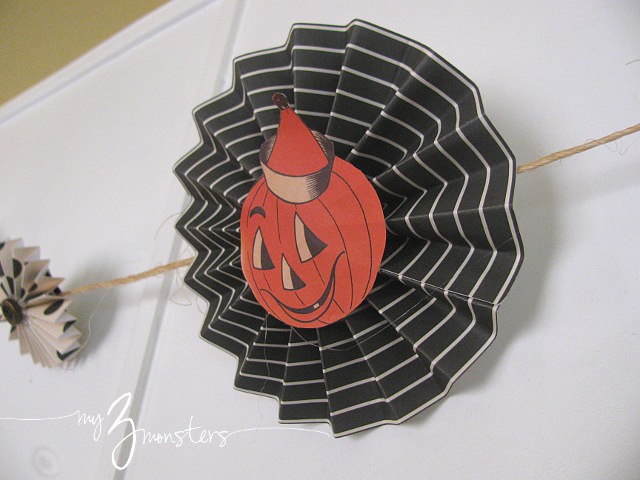
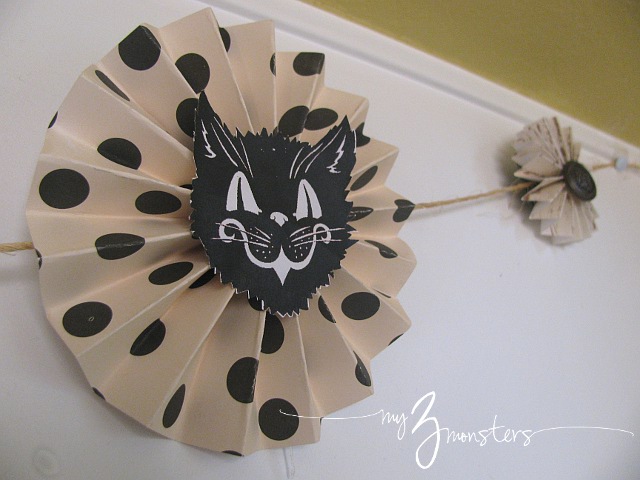
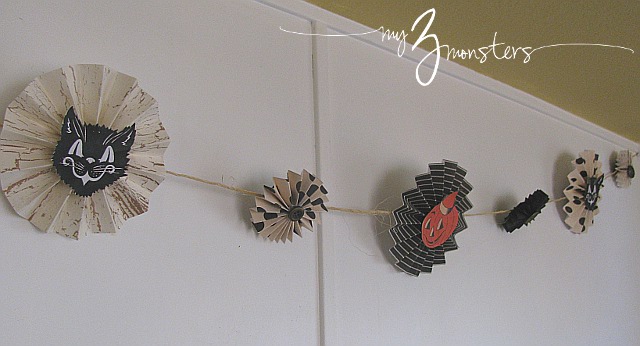
I attached a flower to my twine every 8 inches. Just cut a small circle of matching paper and hot glue it to the back of the flower, sandwiching the twine in between. Leave some extra twine on each end {about 18-24 inches} so you have a cute curling tail effect on each end. Easy Cheesy! I like the festive feel it gives an otherwise boring space.
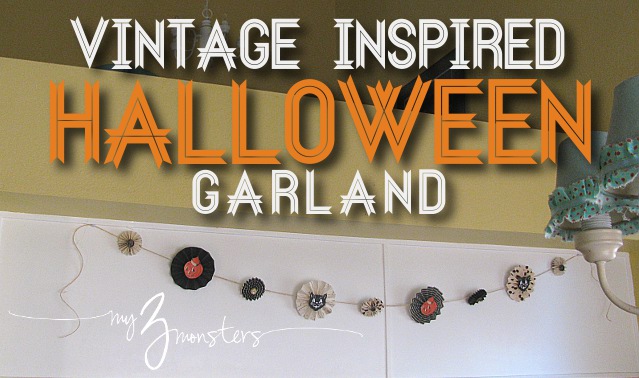
On a whim last night, I decided to switch up my chalkboard wall to make it more Hallween-y, too. Thanks to Ella Claire for the word art template!!
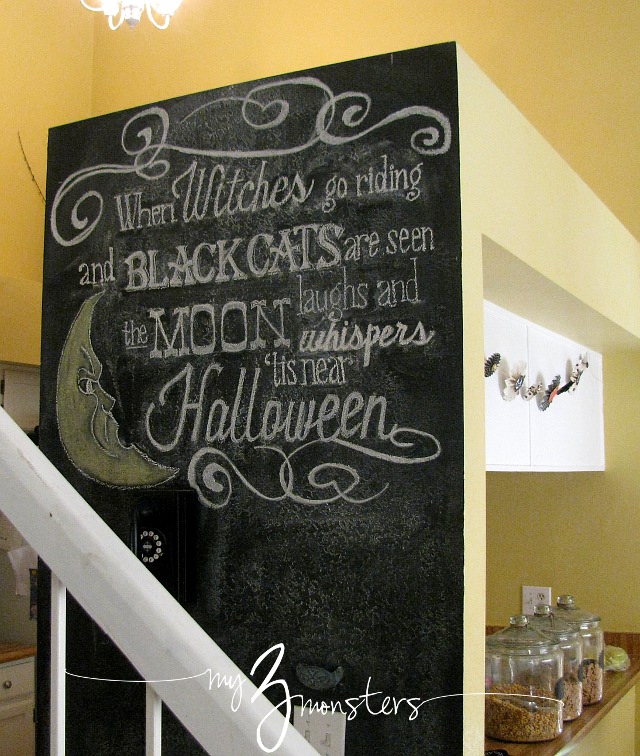
It's far from perfect since I free-handed it, but it's fun and fresh. {Here's what it looked like before.}Happy Halloween decorating, friends!


I LOVE the chalkboard wall! And those canisters one the counter are a great size.. Where did you get them?
ReplyDeleteI love love love your garland! And, your chalkboard looks waaaaay better than mine! Love it!
ReplyDeleteAwesome! My weekly linky party--One Creative Weekend--has gone spooky this week in honor of my thirteenth party. If you haven’t already, I hope you’ll visit "One Creative Weekend" on OneCreativeMommy.com (open every Fri-Wed) and link up this idea and anything else you’d like to share. (You can include non-Halloween posts as well, but feel free to link up as many Halloween-themed posts as you like.) There are two categories—one for Halloween and one for everything else.
ReplyDelete