HI guys! I am so excited to share today's project with y'all. So, you know how I have gotten bored with my butter yellow walls and have been itching to paint them white? Well, I FINALLY decided to just dive in and do it! It's going to be a slow process as I paint a wall here and a wall there when I find the time, but we're doing it and I couldn't be more pleased. I do still like the yellow so I wanted to keep a little bit of it as an accent in my sea of bright, pretty whiteness. We have this landing at the top of our stairs that serves as a "hallway" of sorts between the kids' bedrooms and bathroom. I thought it would be the ideal spot to keep a little color and bring in some pattern.
The walls in our home {as with many, many Arizona homes} have an annoying orange peel texture to them. I mean, it's not bad to look at, but if you decide to paint stripes of any kind you will want to poke your eyes out. Ask me how I know. I wish I had known about Frog Tape® Textured Surface tape back when I did my kids' bathroom -- or WAYYYY back when I first painted Sis's room. It is a LIFE SAVER! I learned long ago {when I was painting murals regularly} that Frog Tape® is the ONLY tape worth buying, but even I was skeptical that their textured surface tape could actually create a crisp, straight edge on MY walls. Boy, was I pleasantly surprised!
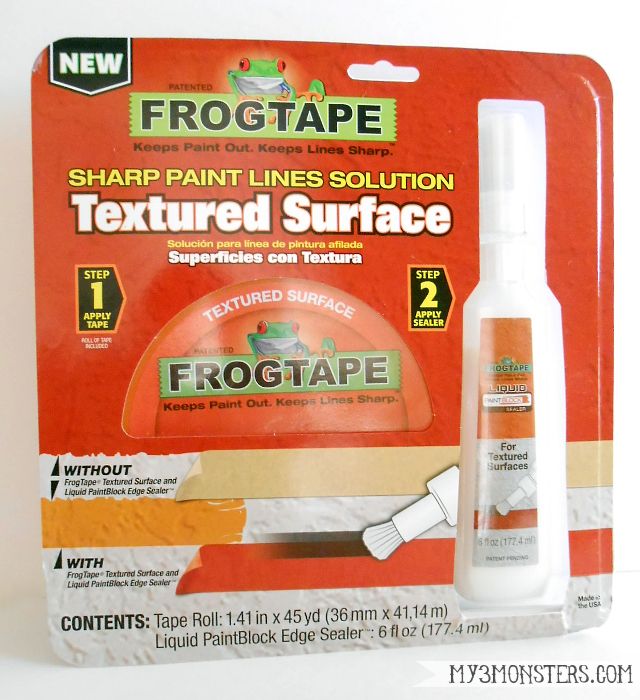
Frog Tape® has this magical thing called PaintBlock® Technology. It's where the tape is coated with a super-absorbant polymer that reacts with laytex paint on contact to form a gel barrier to prevent paint bleed. I'm telling you -- it was the ONLY tape I used for my murals. Uh-mazing! BUT, my friends, Frog Tape® Textured Surface tape has an additional level of protection! It comes with a little bottle of Liquid PaintBlock Edge Sealer that you paint on over the tape to make paint bleed virtually an impossibility {if you follow the FrogTape how-to . . . } I think I'm in love, you guys.
How to Paint a Herringbone Accent Wall:
Step 1: Paint your wall the color you want your lines to be. I liked the yellow we already had, so I used that for my line color. If you are painting a new base color, allow time for it to fully cure, which is usually about 3 days, before moving on.
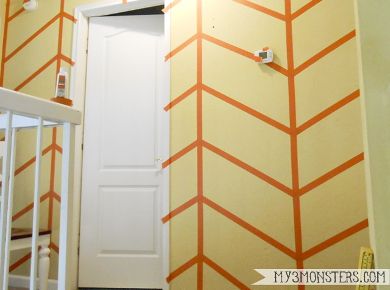
Step 2: Tape off the design. On a clean, dust-free wall, use a tape measure and level to lightly pencil in the design. For this herringbone pattern, my vertical lines were placed 22-inches apart and my diagonals were placed 12 inches apart on a 30-degree angle. {A quilting ruler was super handy for this step!} Follow those pencil lines with the tape, pressing as you go to make sure your tape is well adhered to the wall. Once your design is all taped up, as shown, take a damp rag and run it along all the tape edges to activate the PaintBlock seal.
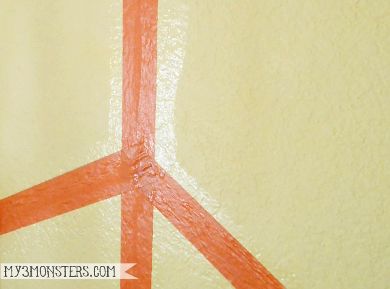
Step 3: Use the bottle of Liquid Edge Sealer with the brush tip in place to paint an even, generous coat of sealer along all the tape edges. Use a small circular motion to make sure you get good coverage. Wait 15 minutes for the liquid to dry before you begin painting. You will be able to make sure you didn't miss a spot after it dries because it will be shiny, as shown here.
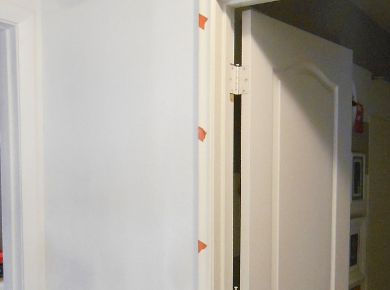
Step 4: Use a paint roller or brust to apply your laytex paint. Just paint right over the tape. Once the paint is dry to the touch you can move on to step 5.
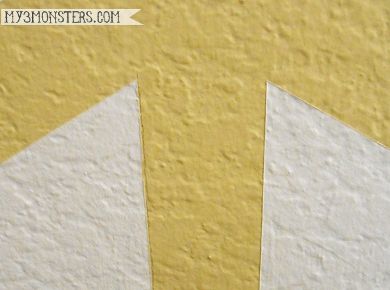
Step 5: Remove the tape. Carefully pull the tape away from the wall to reveal your design. You will be AMAZED at the crisp, straight lines! If you have any remaining pencil lines showing, use a clean, damp rag to wipe them away.
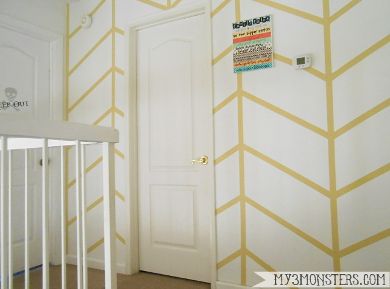
Step 6: Enjoy your beautifully painted accent wall pattern.
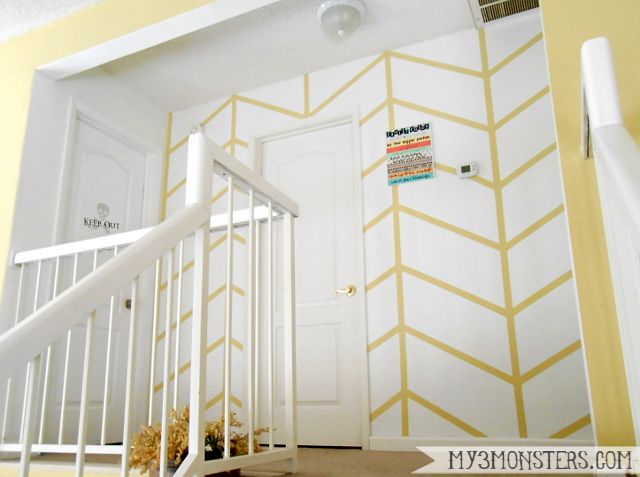
This is the very first decorative painting project I have done in my home that didn't require any touch-up work after the tape was removed. Not a single stroke. Every line was beautifully clean and crisp. No kidding -- absolute perfection. The added time spent in prepping and sealing the edges with this tape really pays off!
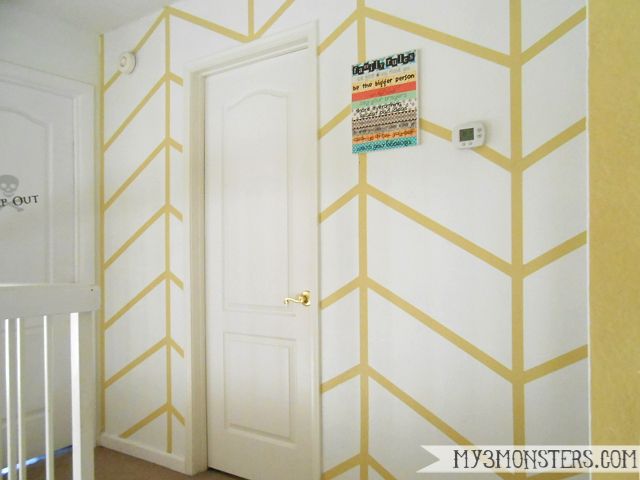
I love the way the herringbone pattern draws your eye and makes this previously lame-o spot in our home a major focal point!
Follow Frog Tape® on Twitter for tons of creative inspiration! What painting project are you going to tackle now with Frog Tape®?
Thanks for stopping by!
Amy
I’ll be linking up to some
of my favorite link parties. Come and check them out!


This has to be one of my FAVORITE accent walls ever!!! Super excited to share it with my favorites from the week this Friday morning @ www.makingitinthemountains.com! Enjoy the rest of your week !!!
ReplyDeleteThanks so much!
Delete