

{WOWZA!! I have been so flattered by the warm response I have received to this project. Ever since linking it up to Tatertots & Jello's Weekend Wrap-Up Party in June and being featured on Under the Table and Dreaming the very next day I have seen different versions of this all over blogland and I love every single one! This lil' blog of mine immediately grew from 15 followers to 150, which still just blows me away. Happy Crafting in 2011, folks!}
Every so often I get the urge to redecorate my home. Often these urges concur with the removal of seasonal decorations. There is almost nothing like the potential of a fresh, empty canvas of a living room. Alas, my budget is usually less than zero so I have to be a little creative. After I took down my Christmas decor in January, I had the overwhelming desire to do something new over my mantle. This project was my inspiration.
Total Cost for this Project: $0- $20 (depending on where and how big you print it).
Total Time: 30 minutes - 3 hours (depending on how long it takes you to make a decision).
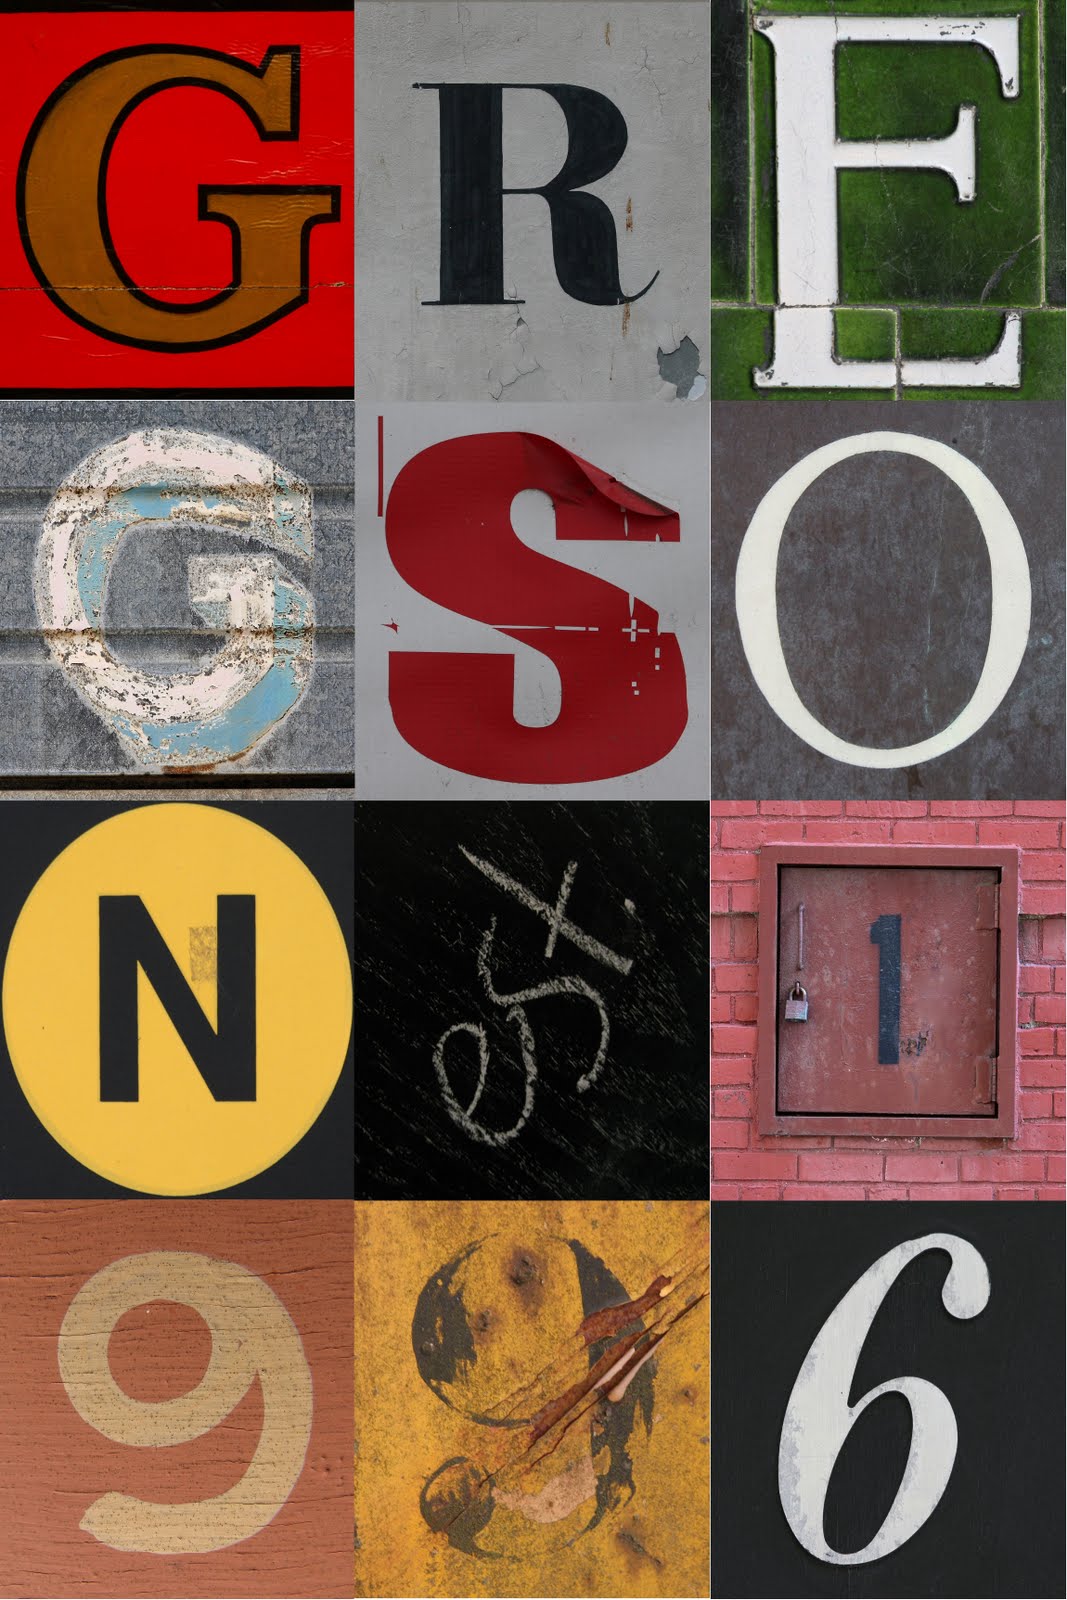
The first thing you need are some typography images. You could take your own photos (like I did for that square that says "est.") or you can find some online and download them. This is where I ran into my second source of inspiration -- the Flikr photostream of Leo Reynolds. Mr. Reynolds has taken several thousand photos of typography and signage (and other interesting things) and he allows us, the general public, to use them under a creative commons license with very few restrictions. (The main one being that you may not use his images to make money for yourself, but that's just obvious good manners, right?) You need to pick out the images you want to use and save them to your computer. This is where the project can get really time-consuming. I spent HOURS looking at all the images and ended up with, like, seven of each letter that I needed. When you find an image you want to use, click on it so that it is the big image on the page. Then, up in the top left hand corner, click on the tab that says "View/Edit" and click on "view all sizes". At this point you probably need to think about how big you want your finished project to be. The bigger you want to print it, the higher resolution you need. I used the large size (usually 1050 x 1050) because I was looking for something massive and bold when I was through..
Now that you have your images, you really need to decide what size you're looking at printing it. I decided on Costco because their prices for poster prints was just unbeatable. $9.00 for a 20 x 30 poster? Awesome! Other places like Snapfish were more like $20.00, which is still not too bad if Costco is not an option. To be really cost effective, you could print each image out at home on photo paper and then mod-podge your collage onto a canvas (which is what I actually ended up doing with my poster in the end). As a general guideline, a 20 x 30 poster needs to have a minimum resolution of 2300 x 3450. You can find other size requirements here.
Also, at this point you need to decide how you are going to make your digital collage. You have a ton of options. For anything smaller than 8 x 10 that you want to print at home you can put it all together in a Word document. Picasa and Picnik both have pretty easy to use programs to create photo collages. Photoshop (in all it's variations) works. I'm super cheap so I use a Photoshop knock-off program called Gimp that can be downloaded for free here. I created a new file with the dimensions I wanted for my finished product, fudging a bit so that I would end up with 9 equal squares. In this case 2700 x 3600 pixels. I set up guides to divide my image into 9 equal squares then resized each image to 900 x 900 pixels and pasted them into the squares. After "sticking" all the images together, I resized the whole image to 2400 x 3450 so that I wouldn't have to crop off any edges when it was printed. This will make all your "squares" a little narrower than they are tall, but it's barely noticeable. Plus, it's better than losing an inch or two off of each side when you get it printed. (Now that would be noticeable!) Save your image. Print it how and where you choose. Frame it, let your creative juices run wild.
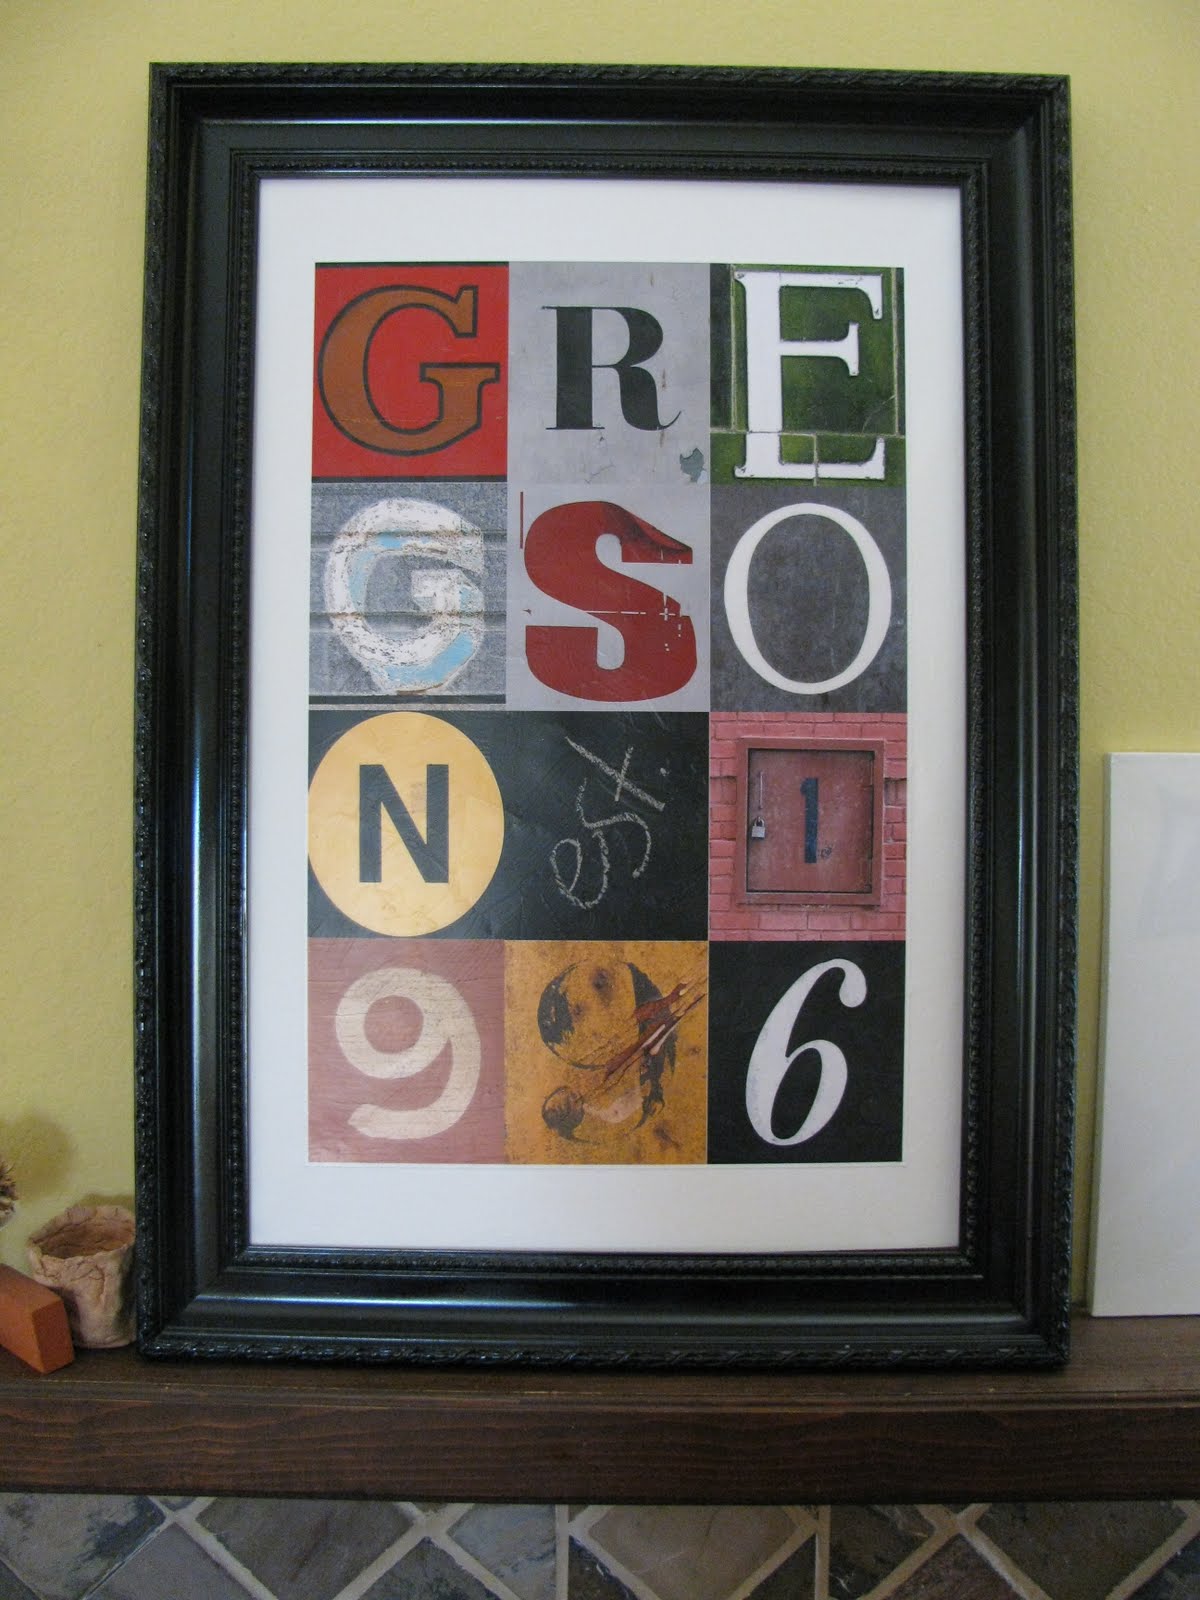
When I got my poster I loved it, but I knew I wanted something even more substantial. Maybe a thick, black gallery frame or something. But massive gallery frames are expensive, so I waited and looked around. I finally found a frame on clearance at Hobby Lobby 80% off. However, it was 24 x 36. Not a problem. I bought a 24 x 36 inch canvas, mod-podged the poster right in the middle, leaving a white "mat" around the edge. Here's the finished project, which is a major conversation piece. Everyone who comes in comments on it. Yay!
Find my original, less detailed post here.


