

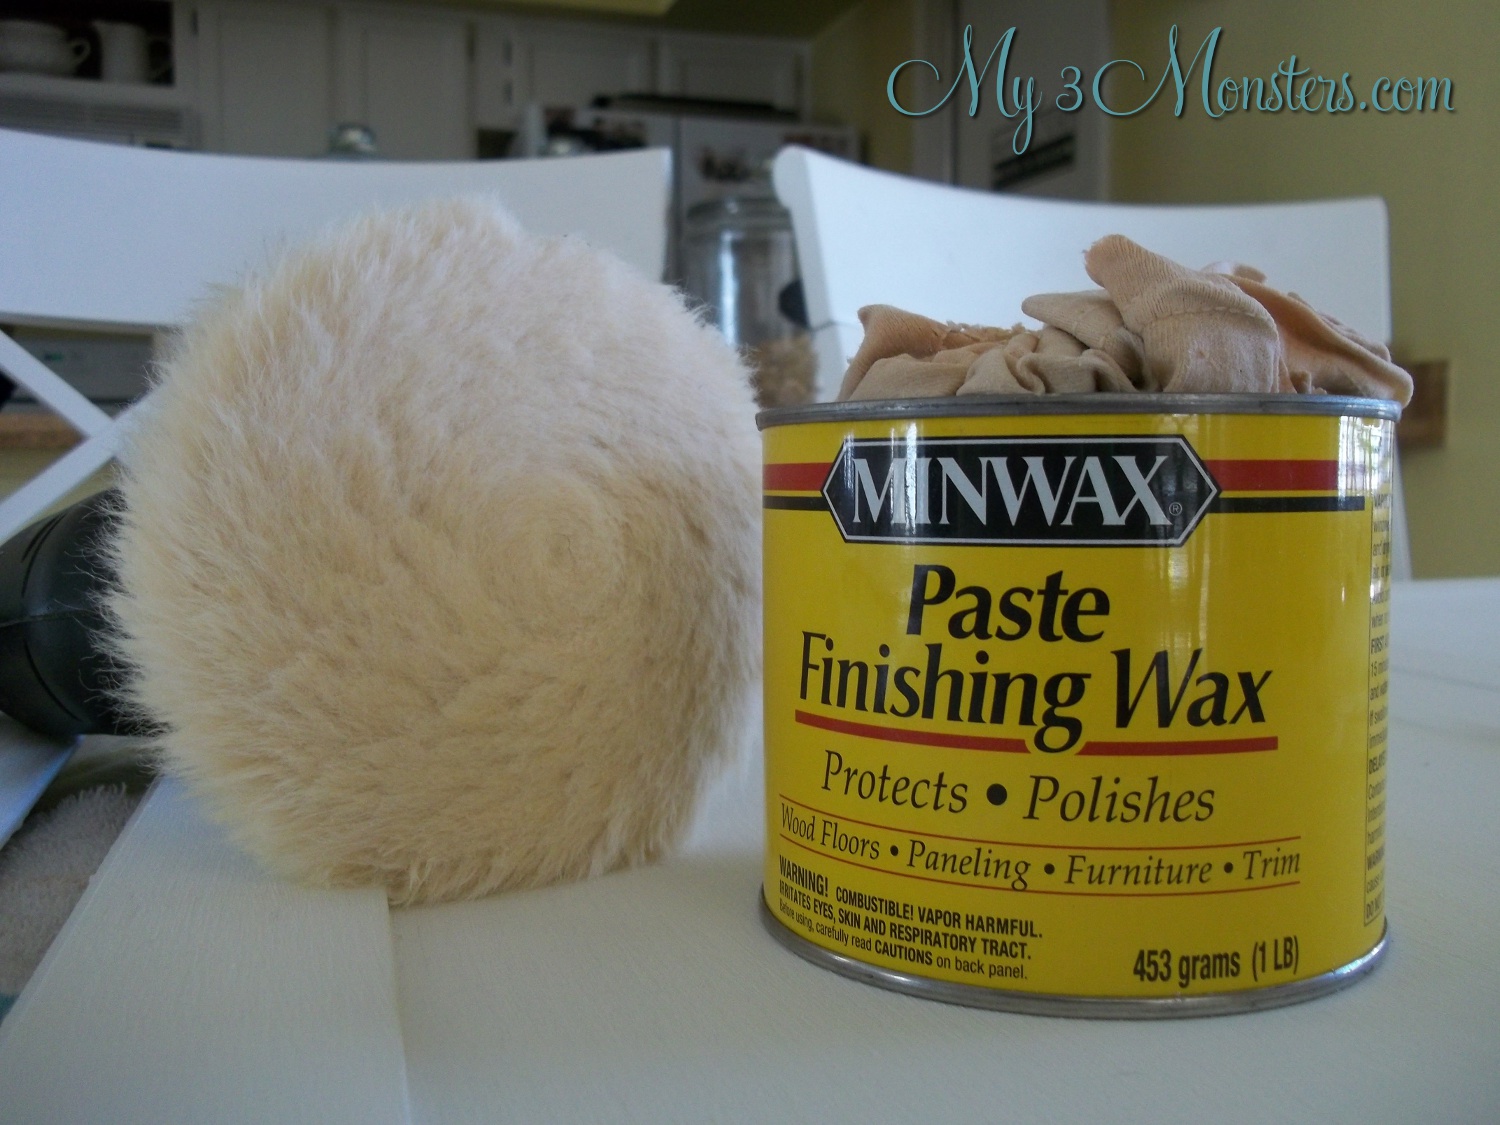
On the right in that picture is the wax I used -- Minwax Paste Finishing Wax in Natural. It was a great product, I think, but I would have liked a clear wax better. The Natural color toned down the bright white of my Ultra White paint and made it look a little more subdued, which is nice . . . but not really what I was expecting. I'm sure if you shop around you can find clear wax out there. Maybe a different brand? The process is easy. Here's how it went down:
- I set up a "work station" for myself by covering my kitchen table with old garage towels so the cabinets wouldn't scratch the table and vice versa. I could fit 4 cabinet doors at a time laying flat on my kitchen table so that's what I did.
- Using and old t-shirt, I rubbed a light, even coat of wax on the first side of each of the cabinet doors. I covered the entire door on the front side, but only did the wood around the outside edges on the back side {not the middle panel}to save time. My thinking was that nothing inside my cabinets is going to damage the finish of that interior panel of the door, but my kids sometimes open the door from the edge instead of using the knob. I wanted to protect the parts of the cabinets that would be getting some wear and tear. The only exception to this was that I waxed the entire inside of the doors on the cabinet that houses my garbage can. Because those doors were really gross when I was prepping to paint.
- I watched TV {or looked at Pinterest} for 15 minutes while the wax "dried".
- I grabbed my handy little buffing tool and buffed away. One thing I learned is that I could only buff the flat surfaces of the doors with the tool. If I tried to get in any of the grooves or buff the angled edges it was a little too powerful and started removing the paint. Yikes! You might not have that problem if you use a variable speed drill and buff on the lowest speed.
- Once all my flat surfaces were shiny and squeaky {they will squeak when you rub your finger over the buffed surface} I got out another old t-shirt and buffed all the grooves and edges by hand. I also kept a few q-tips on hand to get any stray clumps of wax out of the corners.
- Once I was done with one side, I flipped those bad boys over and started in on the other side, following the same routine.


0 friends said::
Post a Comment
Thanks for leaving a comment. I try to respond to every one, even if it takes me a little while!