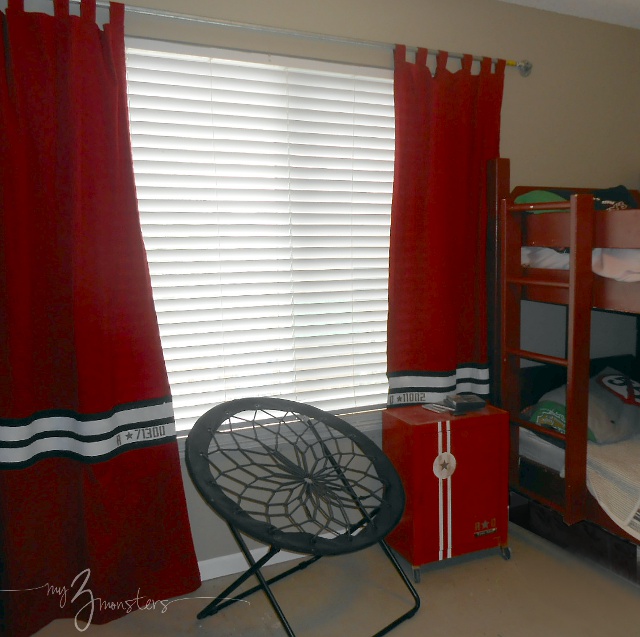
Before I get into the details, let me show you that they turned out great. See:
{BT-dubs, do you see the ghost in that photo? My kids love to watch ghost hunters on TV so I know what that white fuzzy spot in the middle of the picture is. What was that? Maybe it was just a speck of dust close to my camera lens or a glare of some sort, you say? Hmmm . . . I guess we'll never really know.}
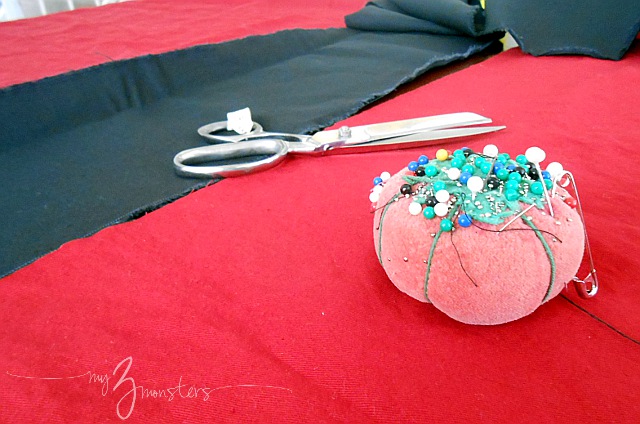
I remembered that I had some black canvas in my fabric stash so I decided to add a contrasting band to make them the right length. I could have just added the additional length at the bottom, but that would have meant picking out the existing hem and re-hemming the newly added piece. No thanks. I have Ghost Hunters to watch. I decided it would be easier {and way cooler} to add a band at about windowsill level.
I laid out my curtain panels and measured 24 inches up from the bottom and cut it straight across. I figured even if I ruin them they were only $5 to begin with and I couldn't use them the way they were anyway. I had nothin' to loose. I cut a 7 1/2 inch band of my black canvas the same width as the red panel and pinned and sewed it in place. The process is very similar to how I made these banded window treatments in Sis's room if you'd like more detailed directions.
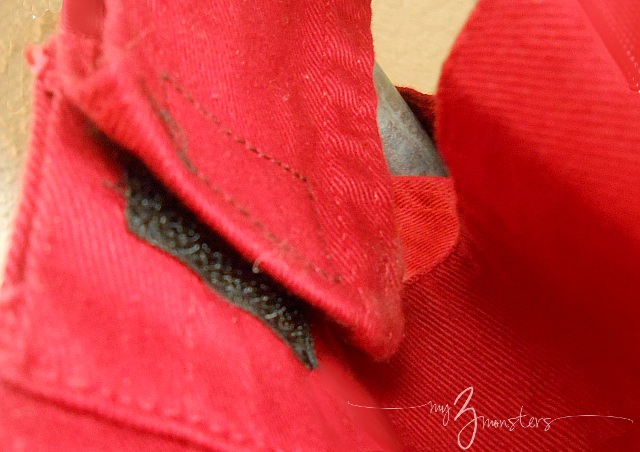
While I had my sewing machine out, I altered the tabs up top to make them easier to hang. You can see in that first picture we used plumbing pipe and flanges to mimic the exposed pipes in old, industrial loft spaces. That curtain rod is screwed into the studs and isn't coming down without some real effort. Like I said, I got some tee-vee programs I gots to gets to so . . . I'm not taking the curtain rod down. I cut each tab across the back, right where it was sewn in and then attached velcro - one side of the velcro to the end of the now-loose tab and the other side to the back of the curtain panel right below where I had just cut the tab. Does this picture make it any clearer?
This way I just have to flip the tab over the curtain rod and attach the velcro in the back to hang them. Super easy.
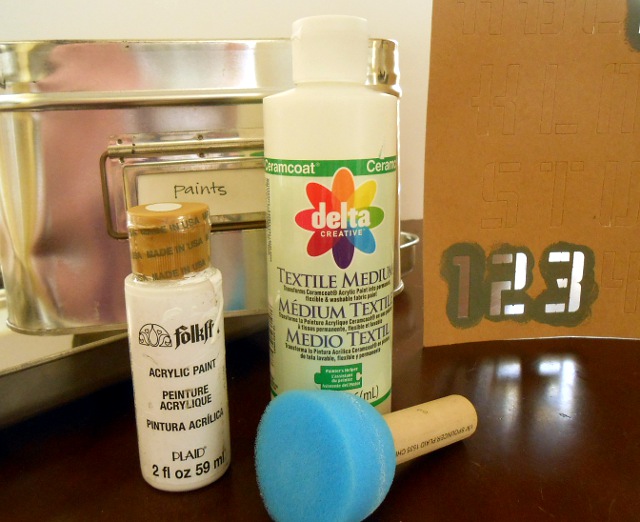
SO . . . then I had red curtains with a big black band in the middle. And I hated it. But I was going to make it work, right? I got out my acrylic paint and textile medium along with a roll of painter's tape and my Handmade Charlotte Stencils.
When the paint was dry{ish}I peeled off the tape to see how it turned out. I'm too impatient to wait until it's all the way dry. It was perfect! I decided that since I had the paint out anyway I would stencil my boys' initials and birth dates onto the white stripes to look like serial numbers or something. It fits with the vintage garage thing we've got going on in their room.
Here's the finished product:
I LOVE the way they look now. I can't believe I was just going hang plain red panels in there. What was I thinking?! {No ghost in this photo. Sorry. But check out that cool bungee chair. That's something.} These are so much better than the old make-shift painter's drop cloth curtains I had fashioned on that rod before:
What do you think? To see the other elements in the room {minus the red curtains and with the beds unbunked} click on over to this older post. Have a great weekend, everyone!
I'll be linking up here:


my (just turned) seven year old just bought the pink and black bungee chair from Target and LOVES it. :)
ReplyDelete