

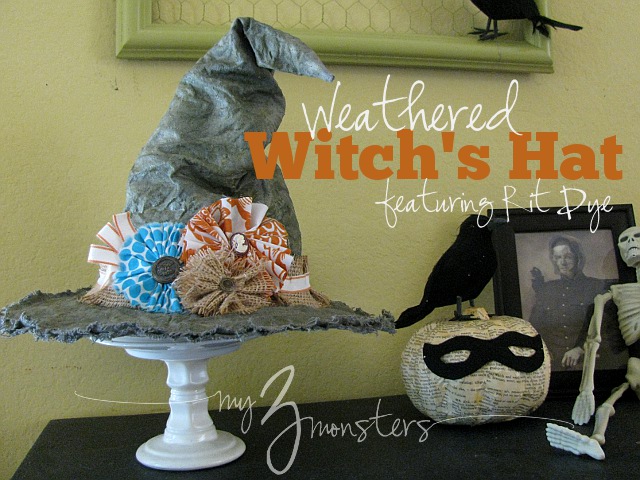
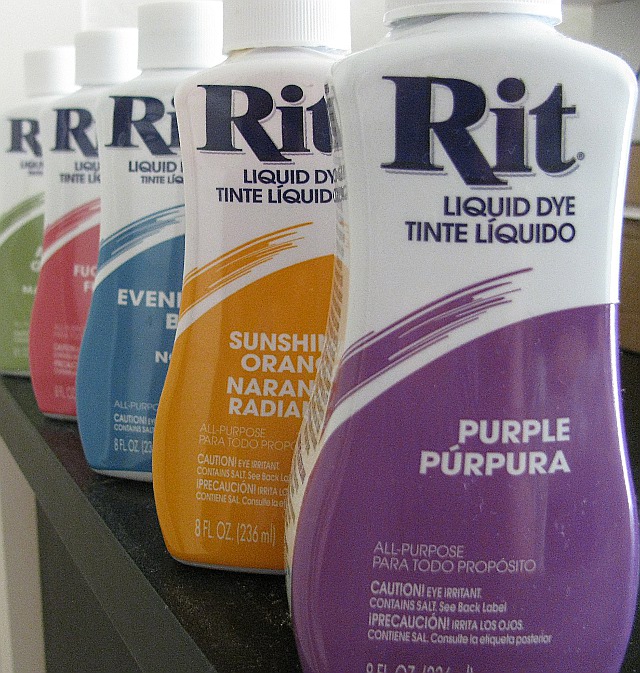
It's always fun to get a package in the mail, but when said package is filled with bottles of RIT Dye and a challenge to create a Halloween project it's even more fun.
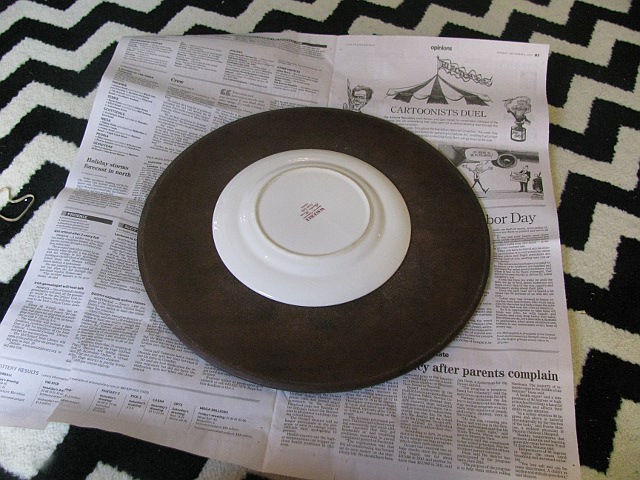
I drew up a pattern on newspaper using a couple of dishes that seemed like a good size -- one for the brim and one for the head hole. {There's probably a better word for that. Whatever.} Trace the larger circle first and cut it out, then place the smaller circle in the center and cut that out. Try to get it as close to centered as possible so that your brim is the same width all the way around.
To make the pointy part of the hat you're going to have to do some math . . . stick with me . . . Measure the diameter of your smaller plate. Mine was about 8 inches across. Add 1/2 inch for a seam allowance, so mine would be 8.5 inches. Find the circumference of your plate by multiplying your diameter by 3.14. {Remember πd from Geometry class? Did you ever think you'd use that again?!} For my pattern 8.5 x 3.14 = 26.69 inches. Add 1 inch to that for seam allowances and round up to an easily measured number, so mine was 27.75 inches. Then decide how tall you want your hat to be. Mine was about 18 inches. To make your pattern, lay out a sheet of news paper and draw a line 18 inches long. Draw several more 18 inch lines radiating from the top point of your first line, until you have a distance of 27.75 inches across the bottom edge. That's about as clear as mud, huh? I drew a little diagram below that I hope is helpful.

Cut your patterns out of your fabric -- one of the pointy pieces and 2 of your brim pieces. I had an old painter's drop cloth laying around so I decided to use that. Next, you need to mix up your dye. Cover your work surface so nothing gets ruined in the process. Here's the recipe for the color I used:
2 C. hot water
2 tsp. Evening Blue dye
1 tsp. Sunshine Orange dye
1 tsp. Black dye

The key is to use VERY hot water. You'll get way better results if you do. I wet my fabric in the sink before dunking it into the dye. I wanted a mottled look rather than even color, so I wadded up the fabric before I dunked it.
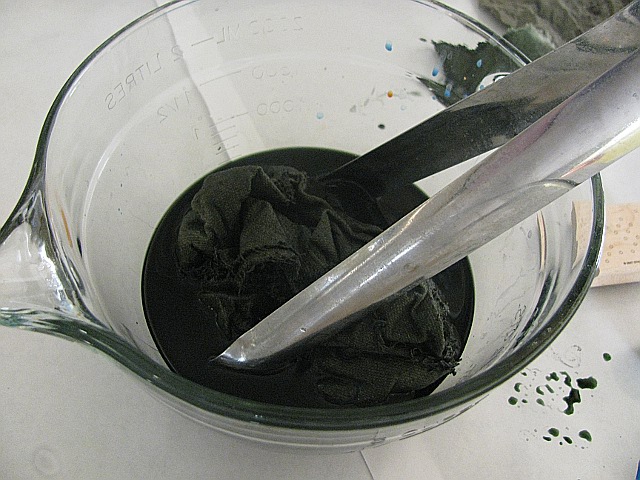
After a few minutes I took the fabric out, wadded it differently and put it back in the dye bath. After about 5 minutes I liked the color so I took it out and rinsed it until the water ran clear and laid the fabric out to dry.

To sew it up, first stack the two brim pieces on top of each other and stitch around the outside 1/4 inch from the edge. That will give you the fun ragged edge on the brim of your finished hat.
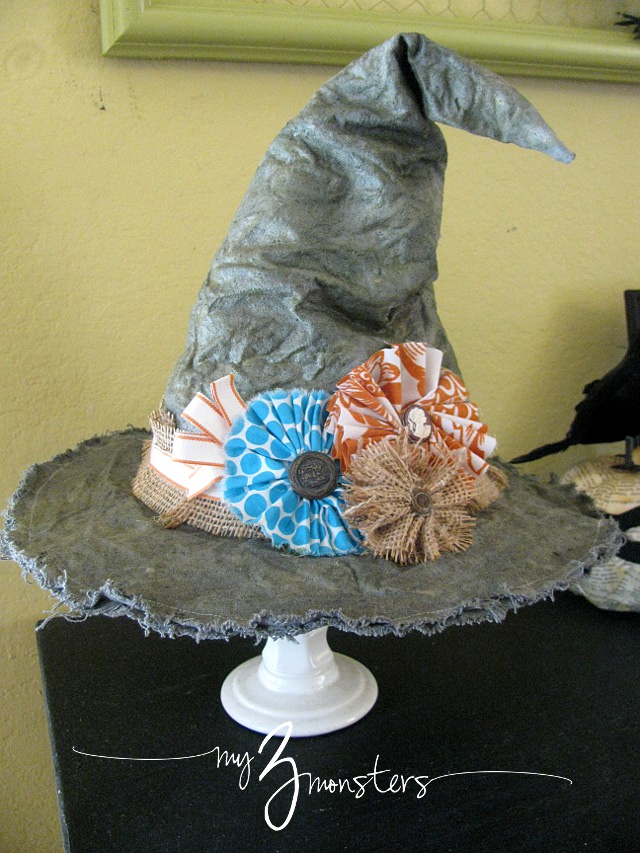
The hat is basically finished at this point. I wanted it to hold its shape for my display so I stuffed it with dish towels, shaped it how I liked, then painted on a couple coats of Mod Podge to stiffen it up. {I used Antique Mod Podge which made my gray color a little more yellow.}

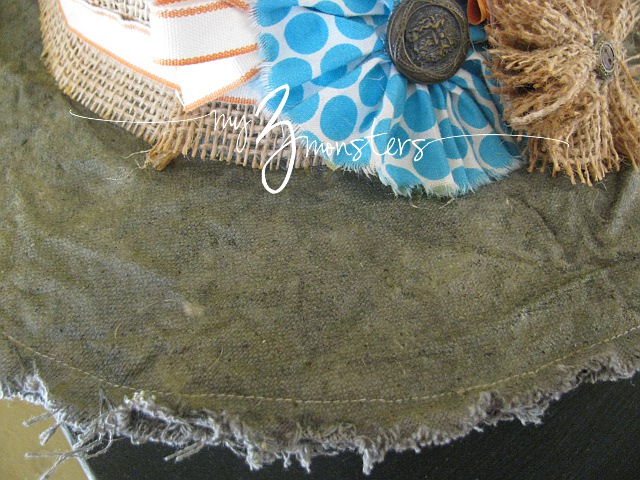
Once it's dry, unstuff it and add your embellishments. I hot glued a band of burlap around the base of the hat with a band of ribbon on top of that. Throw on a few fabric flowers and vintage buttons and you're good to go!
I wrote this post as part of a paid campaign with RIT Dye and Blueprint Social. The opinions in this post are my own.


That hat is the stinkin' cutest thing I've seen in a long time. Whew knew Halloween could be so darling! Love it!
ReplyDeleteThanks Tammy!
DeleteBy the way - I'd totally wear that thing as part of a costume. Ah-dorable!
ReplyDeleteI love it!! Dork statement coming...looks like the sorting hat from Harry Potter, and that makes me love it even more!!!
ReplyDeleteThat's exactly what my husband said. Thanks!!
DeleteI love this. It reminds me of Harry Potter!! Great job.
ReplyDeleteThis RIT Dye campaign is such a blast! I just love your witch hat!! Awesome job!
ReplyDeleteThanks a bunch!
DeleteWow! Your hat turned out amazing!!! I am totally going to try to make one with my leftover dye!
ReplyDeleteThis is amazing! So fun and festive. I hope you will add this up to my Wickedly Creative Halloween Ideas Party if you haven't already.
ReplyDeletehttp://www.itsybitsypaperblog.com/2012/09/2012-wickedly-creative-halloween-ideas.html
That hat is stinkin cute! And what a great tutorial!
ReplyDeleteThanks everyone! You're all so sweet!
ReplyDeleteI wish I had seen this before my daughter's Harry Potter party. It would have been perfect! My weekly linky party--One Creative Weekend--has gone spooky this week in honor of my thirteenth party. If you haven’t already, I hope you’ll visit "One Creative Weekend" on OneCreativeMommy.com (open every Fri-Wed) and link up this idea and anything else you’d like to share. (You can include non-Halloween posts as well, but feel free to link up as many Halloween-themed posts as you like.) There are two categories—one for Halloween and one for everything else.
ReplyDelete