My 3 Monsters: January 2016

Recent Posts

1.22.2016

Free Printable Valentines Week: Valentines Round-Up

Hi guys!  I hope you have been enjoying Free Printable Valentines Week here at My 3 Monsters. In case you missed the previous days, check them out there:


Darling Printable Valentines at /.  TONS of non-candy ideas with FREE printables!

To finish out the week I'm sharing a round-up of some of my most popular printable Valentines from years past.  Honestly, Valentines are some of my favorite things to design!  I have always loved making cute little treats for my kids and their friends. 

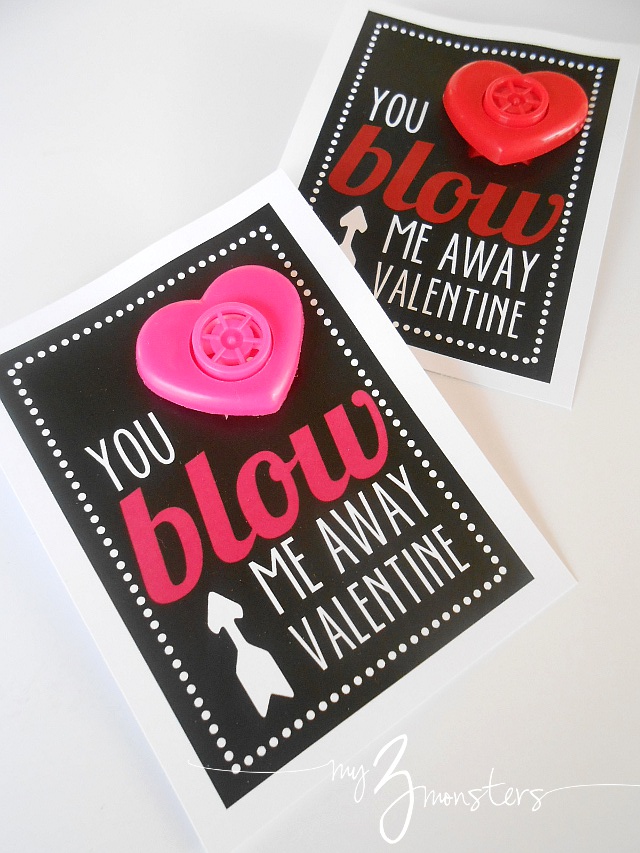
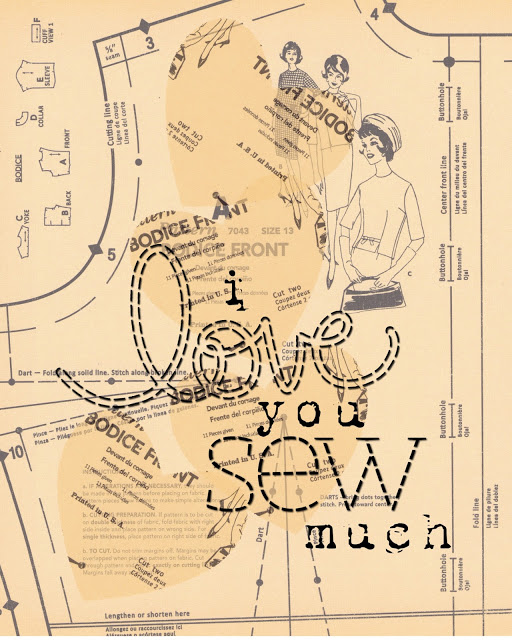
Darling Printable Valentines at /.  TONS of non-candy ideas with FREE printables

Darling Printable Valentines at /.  TONS of non-candy ideas with FREE printables

Darling Printable Valentines at /.  TONS of non-candy ideas with FREE printables

Darling Printable Valentines at /.  TONS of non-candy ideas with FREE printables

I hope that helps some of you get inspired to create handmade valentines for your family and friends this year!!  

Have a happy Valentines' Day!

Amy


1.21.2016

Free Printable Valentines Week: Check Yes Valentines

Hi guys!  Welcome to day four of Free Printable Valentine Week here at My 3 Monsters.  If today is your first day here, check out the other printable valentines here:

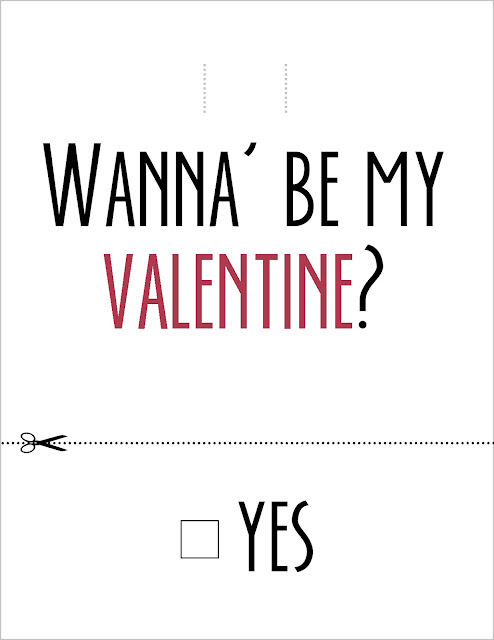
Today I'm sharing these fun "Check Yes" Valentines:

I had to buy these pencils when I saw them in the Dollar Spot at Target.  These were my absolute favorite kind of pencils when I was a little girl!!  And the Valentine patterns on them -- SO DARLING!  The nostalgia of the pencils made me think of the notes we used to pass when I was a kid -- "Do you like me?  Check yes or no." -- then the person would check their answer and pass it back.  So silly.  I thought I would design a similar note that made the "choice" really easy and would ensure a happy Valentine's Day for everyone involved.


After you print the cards, use an X-acto knife to cut along the two gray lines at the top.  Extend the lines a little bit if you need to so that your pencil will fit.  Insert a pencil into the slits and you're good to go.  {I love a super-easy valentine idea!}


DOWNLOAD THE YES VERSION HERE
DOWNLOAD THE  MULTIPLE OPTION VERSION HERE

Enjoy!  Come back tomorrow for the final day of Free Printable Valentine Week.


Have a great day, friends!

Amy


1.20.2016

Free Printable Valentines Week: Put A Ring On It Valentine

Hi guys!  Welcome back to Free Printable Valentine Week here at My 3 Monsters.  You can find the other fun ideas here:

Darling!!  Four non-candy valentine ideas even teens and tweens can appreciate with FREE PRINTABLES at /
I found these bags of ring erasers in Target's holiday section and immediately started singing Beyonce's "Single Ladies" in my head. {If you like it then you shoulda' put a ring on it...} Because I'm a dork like that. You can get a bag of 24 ring erasers for $3.00.  Can't beat that, amiright?!  These valentines are super easy to make.  All you'll need are the rings, the printables {available below}, and some baker's twine or other string.

Darling!!  Four non-candy valentine ideas even teens and tweens can appreciate with FREE PRINTABLES at /
Like yesterday's valentines, you can choose to print these with a cute geometric pattern on the reverse side.  Just download the printed back version below and choose double sided when printing.  It only costs a little bit more to print them double sided on cardstock, but I like the way it looks a lot better!  If you want a plain white back side, download the plain back version below and print single sided as usual. 


Once you have printed and cut out the cards, decide where you want the ring to be placed and punch two small holes so you can tie it on.  I used a small metal skewer to poke my holes -- use whatever you have on hand!  Then use a small piece of baker's twine {also available in Target's Dollar Spot right now!} to tie the ring onto the card.  This is the card my teenagers are most excited about handing out to their friends.  I guess the dorky humor runs in the family!  Come back tomorrow for another valentine idea.


Have a great day, friends!

Amy


1.19.2016

Free Printable Valentines Week: Our Future's So Bright Valentine

Hi guys!  Thanks for coming back for day two of Free Printable Valentines Week here at My 3 Monsters.  You can find all the other fun ideas here:

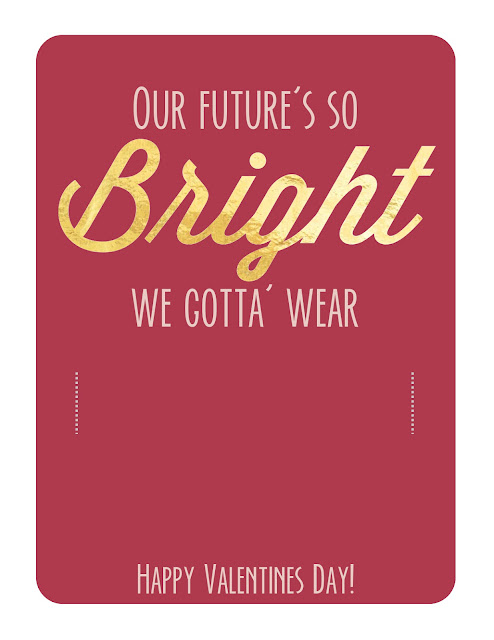
  Today I'm sharing these "Future's So Bright" Valentines:


Super cute FREE non-candy valentine ideas with free printables at /.
When I saw these heart shaped glasses in the Target Dollar Spot, I fell in love.  How cute are they?! They come in packs of four for -- you guessed it -- ONE DOLLAR, making them
an affordable non-candy treat for your kids to pass out to friends and classmates on Valentines Day. I have really come to appreciate how wide-spread and serious food allergies are after working in an elementary school health office for a year and a half.  These Valentines are sure to be a crowd-pleaser, while ensuring no one feels left out!

Super cute FREE non-candy valentine ideas with free printables at /.
I've given you the option on these Valentines of having a plain white back or a cute geometric patterned back.  If you want the plain white back, select the appropriate version below and print single sided as usual.  For the the patterned back, just download the appropriate file below and select the double sided option when printing.  I think the pattern on the back makes it feel a little more "special" and it only costs a few cents more to print the copies double-sided. I always use Staples Copy & Print and they do a fantastic job every time.  


Super cute FREE non-candy valentine ideas with free printables at /.
Once you print the images, just use an X-acto knife to cut along the two dotted lines.  Insert the arms of the sunglasses through the slits and you're good to go!  Easy cheesy!


I'm going to take these to school for my kiddos.  Can't wait to see their smiling faces!! Come back tomorrow for another candy-free printable valentine idea.


Have a great day, friends!

Amy


1.18.2016

Free Printable Valentines Week: Fuzzy Sock Valentines

Hi guys!!  After taking a little break to first celebrate the holidays, then mourn their passing and get my house back in order, I am very excited to get into Valentine mode.  I know it's still nearly a month away, but this gives us plenty of time to whip up some fun homemade valentines for our kiddos and their classmates, right?  {In reality, if your life is like mine, we'll probably actually be printing these on February 11th for our kids to scribble their names on and take to school for "Friendship Day" on the 12th, amiright?!} I thought when my youngest entered middle school three years ago we would be done doing valentines, but boy was I wrong!  My teenagers are all about giving goodies to their friends and  I LOVE IT.

This year I was so inspired by the cute things in the Target Dollar Spot that I created four different valentines even older kids will love.  I'm totally not kidding, guys!  They have such cute stuff right now! Even if you're a procrastinator super busy mom, do yourself a favor and hit the Dollar Spot NOW so you'll have the supplies on hand later.  Good stuff like this doesn't stick around forever in the Dollar Spot.  Ask me about the gold polka dotted stemless wine glasses that I didn't buy shortly after Thanksgiving and then couldn't find anywhere two weeks later. I'm still kicking myself about those.

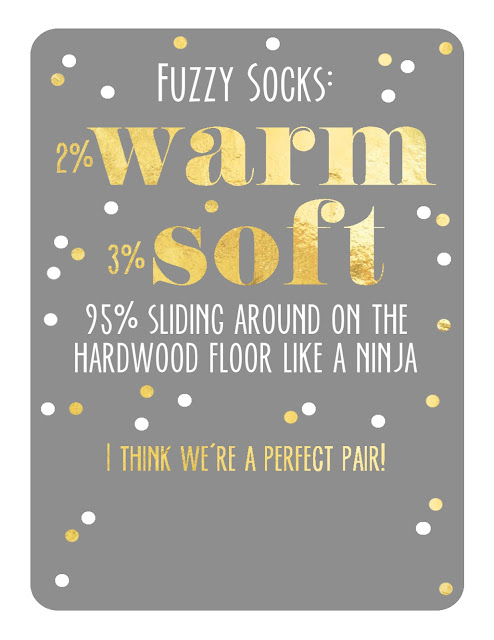
To kick off this fun week of Free Printable Valentines here at My 3 Monsters, I'm sharing these Fuzzy Sock Valentines:


Super cute!!  Free printable Fuzzy Sock Valentines from /
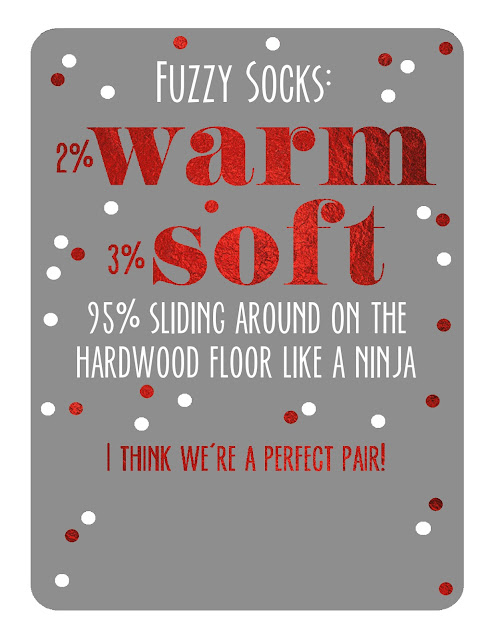
Who doesn't love a pair of fuzzy socks?!  I created these with my 17 year old daughter and her friends in mind.  {Also my own friends and co-workers.  We're still fun, too.}  These are the easiest -- just print, cut, punch, and tie.  Those fuzzy socks came from -- you guessed it -- the Target Dollar Spot! I loved the gray and red combo, but they had some pink ones to choose from, too.  


Super cute!!  Free printable Fuzzy Sock Valentines from /
Raise your hand if you can relate.  I prefer to "ice skate" on the wood floors in my fuzzy socks, but I have personally seen every member of my family do the ninja thing at one point or another.  I'm kind of in love with that foil effect right now. Until I can convince my husband that a Minc machine is a crafting necessity, I'll have to settle for this faux printable version.  It's actually pretty fun, don't you think?

After I had already printed the gold version, I had the inspiration to create a red foil version as well.  DUH!  It looks like Valentine chocolate wrappers and matches the cute socks better.  


They can be printed in color on 8.5 x 11 inch cardstock.  I had mine printed at Staples Copy & Print Center because I think the color turns out better on a laser printer than on my inkjet at home.  


Here are the other fun Valentine ideas in this series:
 

 Check back tomorrow for another free printable valentine idea!


Have a great day, friends!

Amy


1.04.2016

How to Add Text to an Image Using Gimp

How to add text to an image using Gimp at /
Hi guys!  Recently I shared a few printable recipe card templates you can use to start your own Recipe Organization and Meal Planning Binder.  Today I'm going to show you how to add text to an image so you can add your recipes to them.  I like to use a program called Gimp, a free program that is very similar to Photoshop. 

Click on any of the images below to enlarge them to see more detail!

Begin by opening your recipe card template.  When Gimp is up and running on your computer, click FILE {in the upper left corner} and then click OPEN.  A window will pop up that allows you to navigate your own computer to find the image you want and click OPEN. {Make sure you remember where you save the template images so that you'll be able to find them again!}

How to add text to an image using Gimp at /
To add text, select the TEXT TOOL.

How to add text to an image using Gimp at /
Click anywhere on the image and begin typing.  You can adjust the font, size and placement later.

How to add text to an image using Gimp at /

You can change your text in several ways by adjusting settings on the bottom of your toolbox. To choose a different font, click on the font box and choose the one you like. This program allows you to use any font you have installed on your computer.  To adjust the size, use the arrows up or down, or select the number in the box and type in a new number.   

Below that you can change the justification of your text -- I typically use left or centered.  The other setting I sometimes adjust is the line spacing to tighten up the gap between lines of text in my boxes.  Just use the arrows up or down to increase or decrease the amount of space between lines.

How to add text to an image using Gimp at /
To adjust the size of the text box, click and drag the edges of the box to desired size.

How to add text to an image using Gimp at /
To adjust placement of text box, switch to the MOVE TOOL.  Click on the the text you want to move and drag it to a new location.  

How to add text to an image using Gimp at /
Sometimes when you are attempting to move text, you will accidentally grab the background and move it instead of the text.  Don’t worry.  Just click on EDIT in the upper left corner and select UNDO from the drop down menu and you’re back in business.  {I do it all the time!}  Continue following the steps above to add text wherever you want it.

How to add text to an image using Gimp at /
Repeat those steps to add the rest of your text.  Any time you use a different font, want text to be a different size to stand out, or want more text in a different location, you will need to create a different text box. You can create as many different text boxes as you need on an imageWhen you have everything exactly the way you want it, it’s time to save it.  The thing you need to know is that in Gimp, “saving” for printing is called “exporting”.  Click on FILE in the upper corner again, then choose “EXPORT AS”.  Do not choose “Save As” or “Save” – that is something else.  This will open up a box that allows you to rename the file and choose where to save it to your computer.

How to add text to an image using Gimp at /
Click EXPORT in the lower right corner of that box.  Another box will open up asking you to choose the resolution at which to save it.  Move the slider up to 100% for the crispest printout, then click EXPORT.

How to add text to an image using Gimp at /


How to add text to an image using Gimp at /
It may look complicated, but I promise you'll get the hang of it in no time with a little practice.   If you are interested in learning some other fun things you can do with Gimp, check out my other Gimp tutorials here.

Have a great day, friends!

Amy


Related Posts Plugin for WordPress, Blogger...